Easy Chia Seed Pudding Recipe – Creamy & Healthy Treat
The beauty of a simple Chia Seed Pudding Recipe lies in its effortless versatility and remarkable health benefits. If you’re searching for a breakfast that’s as nourishing as it is delicious, or a light dessert that won’t weigh you down, look no further. This recipe for Chia Seed Pudding is a game-changer for busy mornings and mindful snacking. What’s not to love? It’s incredibly easy to prepare, requiring minimal effort and just a few staple ingredients. People adore chia seed pudding because it’s packed with fiber, omega-3 fatty acids, and antioxidants, making it a powerhouse for your well-being. Its unique gel-like texture, created by the tiny chia seeds absorbing liquid, is surprisingly satisfying and customizable. We’ll guide you through creating this delightful dish, showcasing how to elevate your everyday with this healthy, no-bake wonder.
Why You’ll Love This Recipe
A Hug in a Bowl
Ingredients:
Our Simple and Satisfying Chia Seed Pudding Recipe
Chia seed pudding is one of those magical recipes that requires minimal effort for maximum reward. It’s a fantastic option for a healthy breakfast, a light dessert, or even a pre-workout snack. The beauty of this recipe lies in its simplicity and versatility. With just a handful of ingredients, you can whip up a creamy, nutrient-dense treat that tastes like a decadent dessert but is packed with goodness.
The star of the show, chia seeds, are tiny powerhouses of nutrition. They are incredibly rich in fiber, omega-3 fatty acids, antioxidants, and essential minerals like calcium, magnesium, and phosphorus. When these little seeds are mixed with liquid, they absorb it and expand, forming a gel-like consistency that is wonderfully satisfying and incredibly healthy. This natural gelling action is what transforms a simple mixture into a pudding.
This recipe is designed to be a base, a canvas for your culinary creativity. The maple syrup adds a touch of sweetness, while the vanilla extract provides a comforting aroma and flavor. The milk of your choice binds it all together. Feel free to experiment with different types of milk – almond milk, oat milk, soy milk, coconut milk, or even good old dairy milk all work beautifully and will impart their own subtle nuances to the final pudding.
One of the best parts about chia seed pudding is that it’s a make-ahead delight. You prepare it, let it chill in the refrigerator, and it’s ready to enjoy whenever you are. This makes it an absolute lifesaver on busy mornings when you need something wholesome and quick to grab and go. It also sets up beautifully overnight, so it’s perfect for meal prepping.
Let’s Get Pudding!
Creating this delicious pudding is incredibly straightforward. You essentially just combine everything and let time and the magic of chia seeds do the rest. Here’s how we bring this simple yet delightful recipe to life:
1. Gather and Combine Your Ingredients: Before you begin extract, make sure you have all your ingredients measured out and ready to go. This makes the process smooth and efficient. Grab a medium-sized bowl or a jar with a lid. Into your chosen vessel, add the 3 tablespoons of chia seeds. These tiny seeds are the foundation of our pudding. Next, pour in the 1 tablespoon of maple syrup. If you prefer a less sweet pudding, you can always start with a little less and adjust to your taste after it has set. Alternatively, you could use honey, agave nectar, or even a sugar-free sweetener if that’s your preference. Then, add the 1 teaspoon of vanilla extract. The vanilla not only adds flavor but also enhances the overall aroma, making the pudding even more enticing.
2. Add Your Liquid: Now, it’s time to introduce the liquid element. Pour the 3/4 cup of your chosen milk over the chia seeds, sweetener, and vanilla. Whether you’re using almond milk for a slightly nutty flavor, oat milk for a creamy texture, or coconut milk for a tropical twist, the milk will be absorbed by the chia seeds, initiating the gelling process. If you’re using a thicker non-dairy milk like full-fat coconut milk from a can, you might find you need slightly more liquid for your desired consistency, or you can use a mix of milk and water.
3. Whisk Thoroughly to Prevent Clumping: This is a crucial step for achieving a smooth, lump-free pudding. Use a whisk or a fork to vigorously stir the mixture. You want to ensure that every single chia seed is coated in the liquid and that there are no clumps of seeds sticking together. Pay special attention to the bottom of the bowl or jar. Continue whisking for about 1 to 2 minutes, or until the mixture is well combined and you can see the seeds starting to disperse evenly. The initial whisking helps to prevent the seeds from settling at the bottom and clumping as they begin extract to absorb the liquid.
4. Initial Resting and Stirring: After the initial whisking, let the mixture sit undisturbed for about 5 to 10 minutes. During this short resting period, the chia seeds will start to absorb some of the liquid and begin extract to swell. After this initial rest, give the mixture another good stir. This second stir is just as important as the first. It will break up any clumps that may have started to form as the seeds began to gel. You’ll notice the mixture starting to thicken slightly. This step ensures an even consistency throughout the pudding.
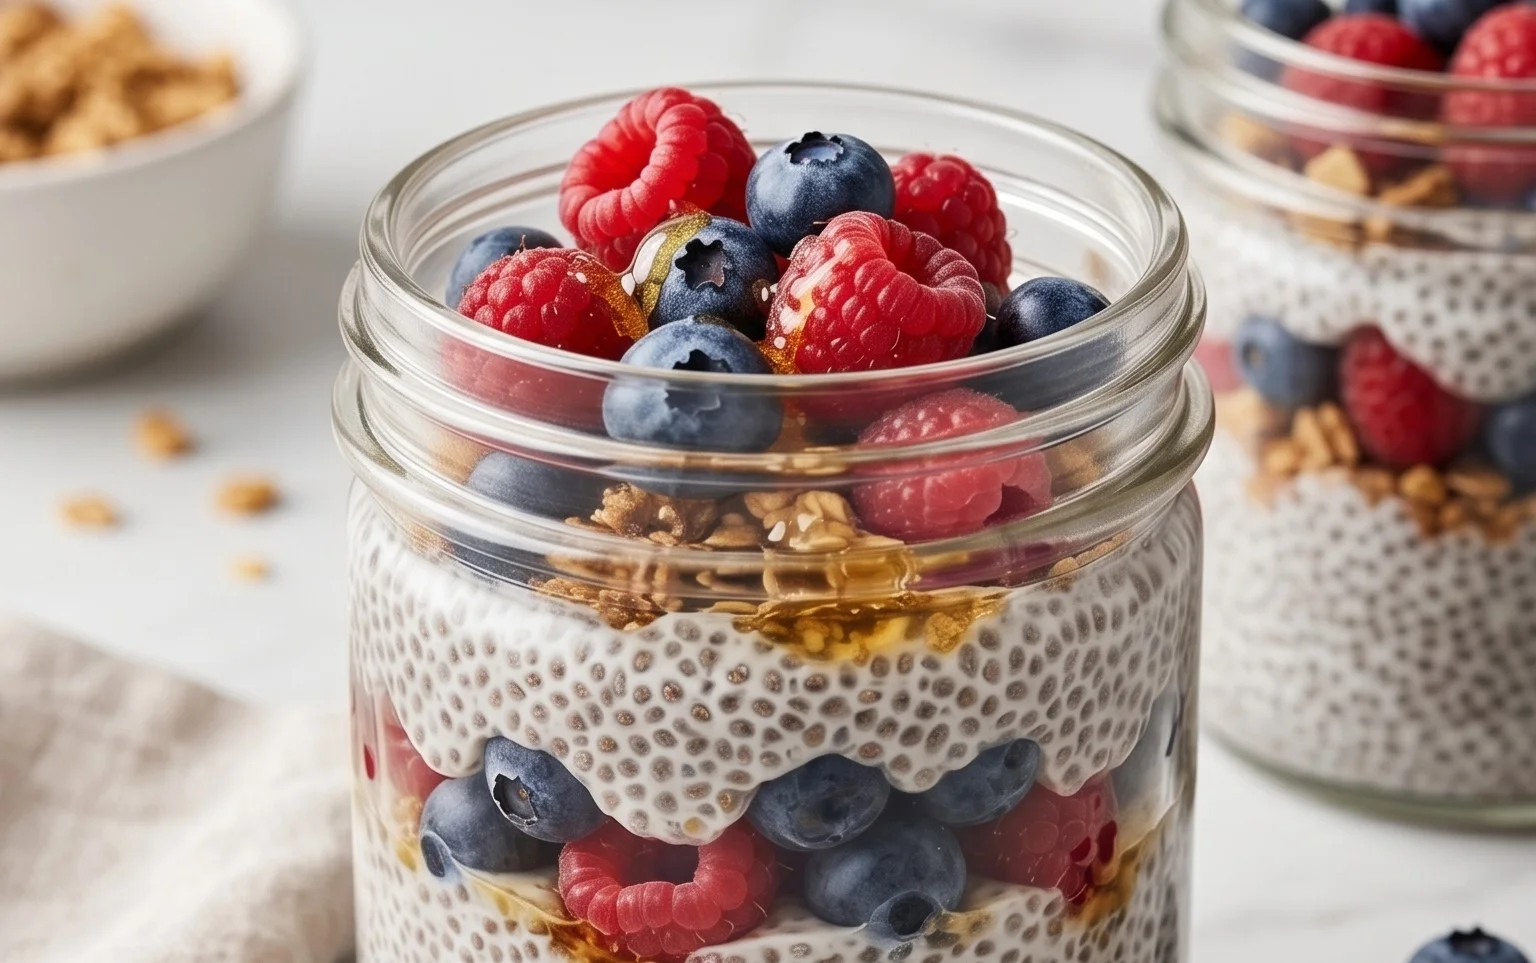
5. Chill and Let the Magic Happen: Once you’ve completed the second stir, cover your bowl or jar tightly with a lid or plastic wrap. Place it in the refrigerator and let it chill for at least 2 to 4 hours. For the best, most pudding-like texture, it’s ideal to let it chill overnight. During this chilling time, the chia seeds will continue to absorb the liquid and swell significantly, transforming the mixture into a thick, gelatinous pudding. The flavors will also meld together beautifully during this period.
Once chilled, your chia seed pudding is ready to be enjoyed! You can eat it straight from the jar or bowl, or spoon it into smaller serving dishes.
Serving Suggestions and Variations
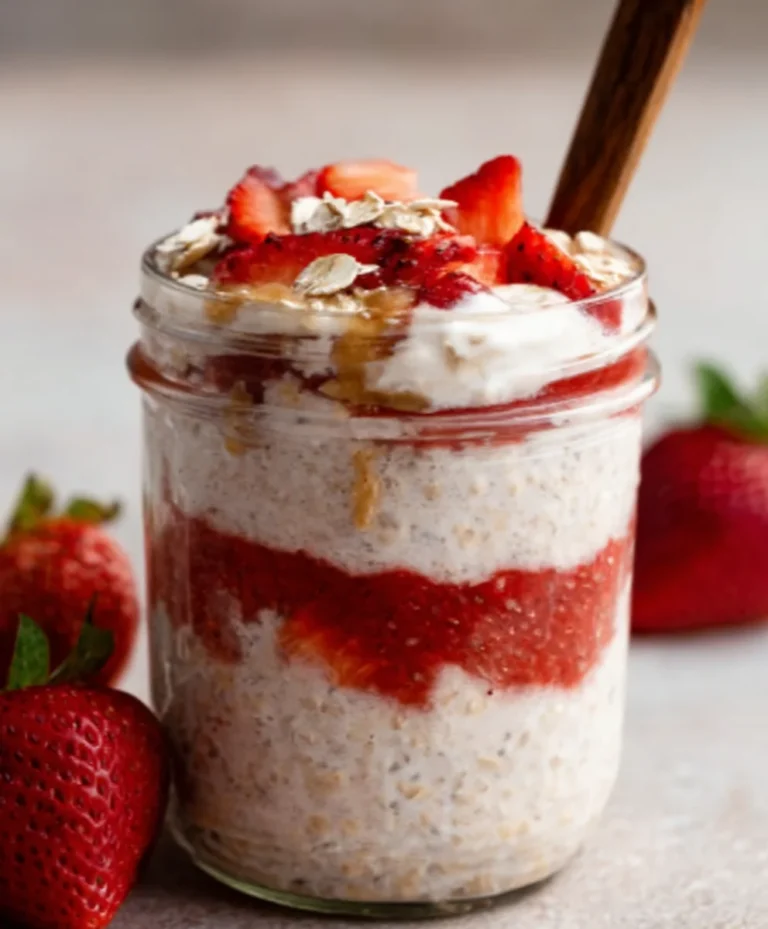
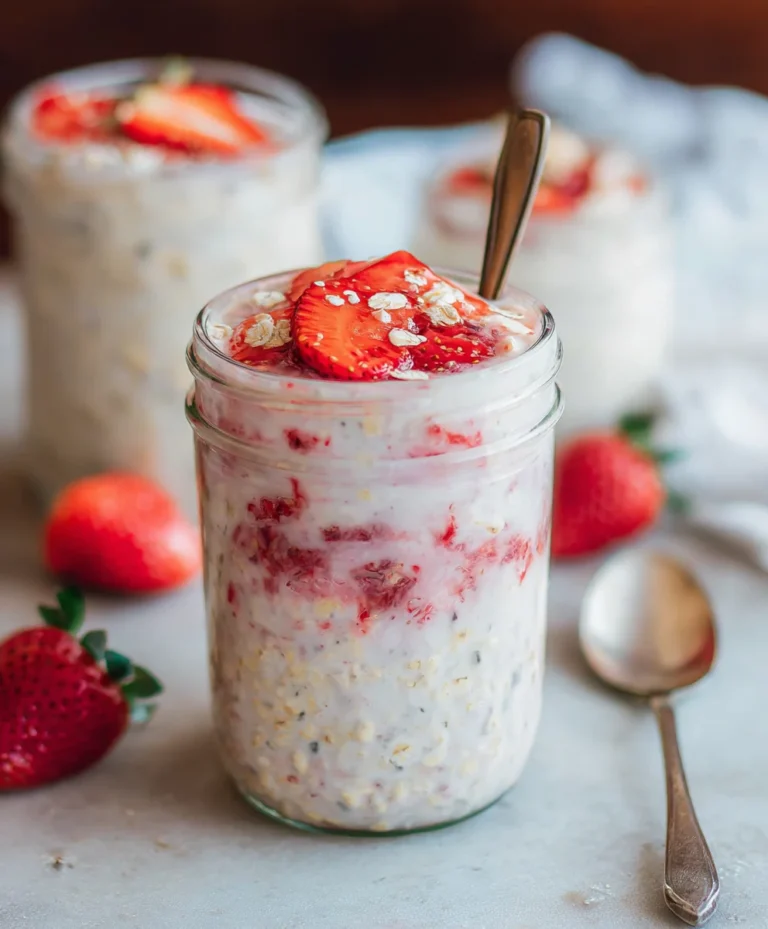
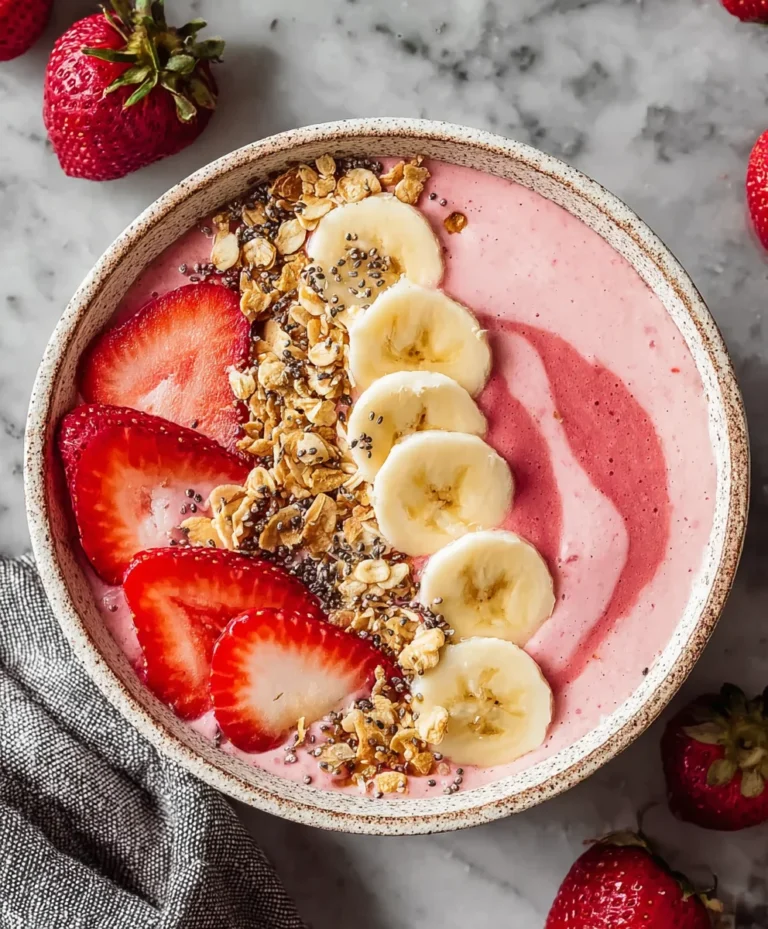
Now for the fun part – toppings! The possibilities are endless and are where you can really personalize your chia seed pudding. Fresh berries like strawberries, blueberries, raspberries, or blackberries are a classic and healthy choice. A sprinkle of granola adds a delightful crunch. Sliced banana, a dollop of yogurt, a drizzle of nut butter (peanut butter, almond butter, or cashew butter), or a scattering of toasted nuts and seeds are also wonderful additions. For a more dessert-like experience, consider a dusting of cocoa powder or shredded coconut.
If you want to get more adventurous with the base flavor, you can also infuse your milk with spices before mixing it with the chia seeds. Warming the milk gently with cinnamon sticks, cardamom pods, or a star anise before letting it cool and then using it in the recipe can add an extra layer of deliciousness. For a chocolate version, simply whisk in a tablespoon or two of unsweetened cocoa powder along with the other dry ingredients in step 1.
Enjoy your homemade, healthy, and utterly delicious chia seed pudding!

Conclusion:
So there you have it – a delightfully simple and incredibly healthy Chia Seed Pudding recipe that’s a game-changer for your breakfast or snack routine! This recipe is fantastic because it requires minimal effort, uses wholesome ingredients, and delivers a satisfyingly creamy texture packed with fiber, omega-3 fatty acids, and protein. It’s the perfect make-ahead meal, saving you precious time during busy mornings. Whether you enjoy it plain and simple or get creative with toppings, chia seed pudding is a versatile and delicious option.
I encourage you to give this recipe a try! It’s incredibly rewarding to whip up something so nourishing and tasty with such ease. Feel free to experiment with different liquids like coconut milk or almond milk, and don’t be afraid to play with your favorite fruits, nuts, seeds, and a drizzle of honey or maple syrup for sweetness. Enjoy the journey of creating your perfect bowl of chia seed pudding!
Frequently Asked Questions:
What is the best liquid to use for chia seed pudding?
While water works, using a plant-based milk like almond milk, coconut milk, or oat milk will create a richer and creamier texture. Dairy milk is also an option if you prefer.
Can I make chia seed pudding ahead of time?
Absolutely! This is one of the best things about chia seed pudding. You can prepare it the night before and it will be perfectly set and ready to enjoy in the morning. It generally keeps well in the refrigerator for 3-4 days.
My chia seed pudding isn’t thickening. What went wrong?
Ensure you are using the correct ratio of chia seeds to liquid. If it’s too thin, you might need to add a little more chia seeds and let it sit for another 30 minutes to an hour, stirring occasionally. Also, make sure you are allowing enough time for the seeds to absorb the liquid; sometimes they need a little longer than initially expected.
Chia Seed Pudding Recipe
A simple and healthy chia seed pudding recipe that’s customizable with your favorite toppings.
Ingredients
-
3 tablespoons chia seeds
-
1 tablespoon maple syrup
-
1 teaspoon vanilla
-
3/4 cup almond milk
-
1/4 cup fresh berries
-
2 tablespoons granola
Instructions
-
Step 1
In a bowl or jar, combine the chia seeds, maple syrup, and vanilla. -
Step 2
Pour in the milk of choice and stir well to combine. -
Step 3
Let the mixture sit for 5 minutes, then stir again to break up any clumps. -
Step 4
Cover and refrigerate for at least 2 hours, or preferably overnight, until thickened. -
Step 5
Stir the pudding before serving. -
Step 6
Top with fresh berries and granola, or your preferred toppings.
Important Information
Nutrition Facts (Per Serving)
It is important to consider this information as approximate and not to use it as definitive health advice.
Allergy Information
Please check ingredients for potential allergens and consult a health professional if in doubt.