Easy Classic Pasta Salad Recipe – Delicious & Quick
Classic Pasta Salad is the undisputed cbeef hampion of potlucks, barbecues, and impromptu backyard gatherings. It’s a dish that conjures up sun-drenched memories, the clinking of ice in glasses, and the effortless joy of sharing good food with loved ones. But what is it about this seemingly simple combination of pasta, vegetables, and dressing that makes it so universally adored? It’s the perfect balance of textures and flavors – the satisfying chew of al dente pasta, the crisp bite of fresh vegetables, and the tangy embrace of a vibrant dressing. This isn’t just any pasta salad; it’s a nostalgic comfort food that feels both familiar and exciting every single time. It’s incredibly adaptable, allowing for personal touches, yet its classic foundation is what truly makes it shine.
Why You’ll Love This Recipe
The Ultimate Crowd-Pleaser
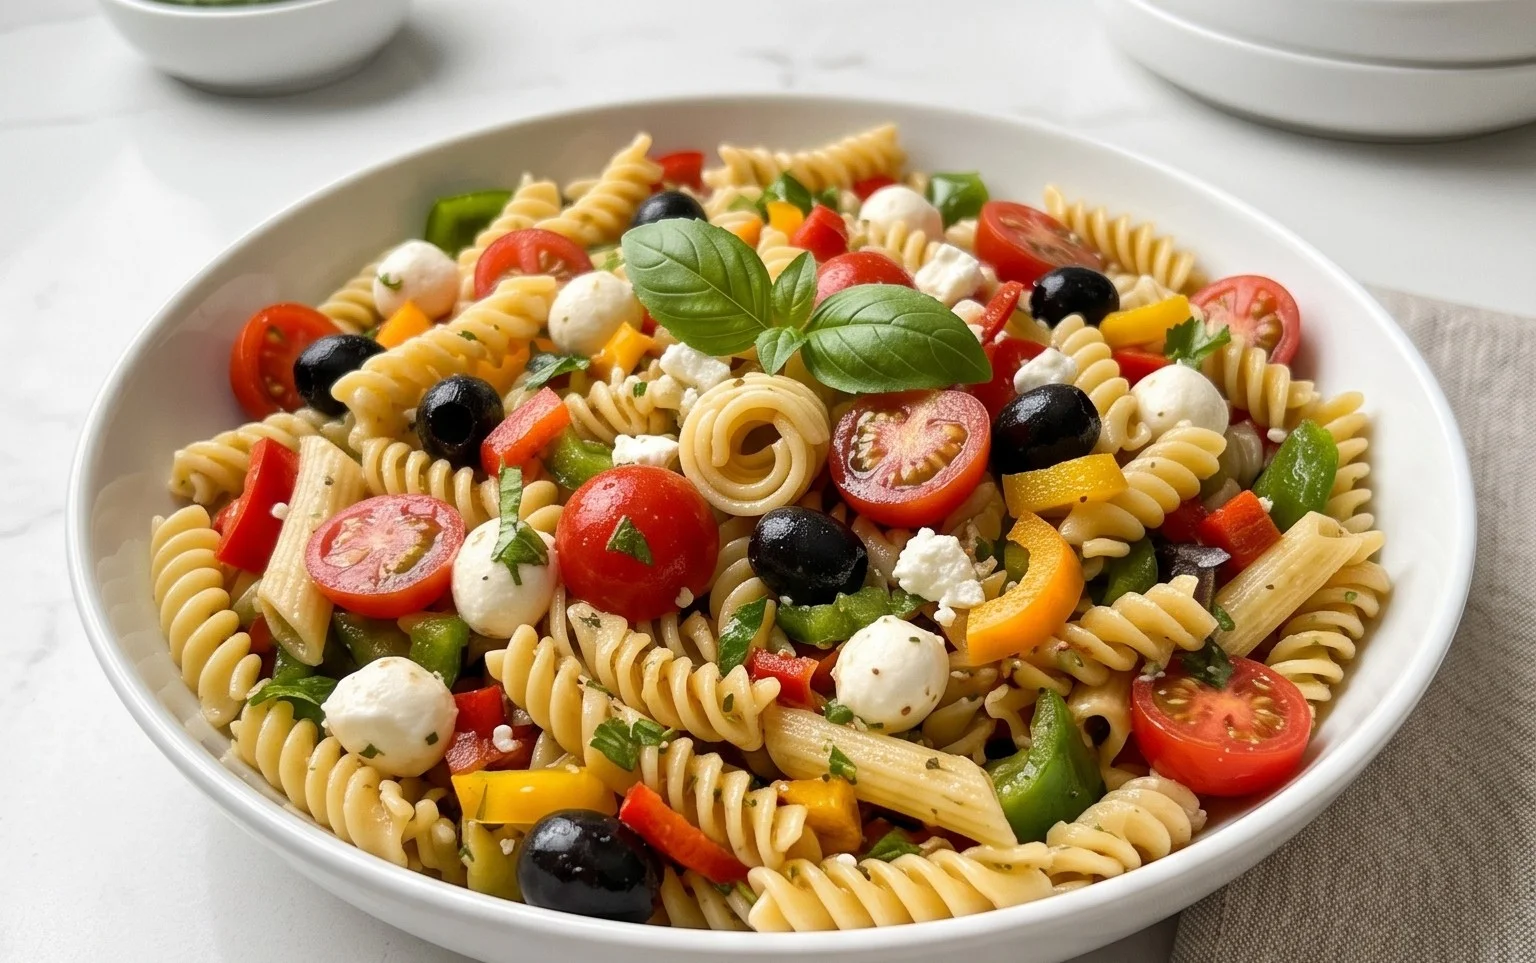
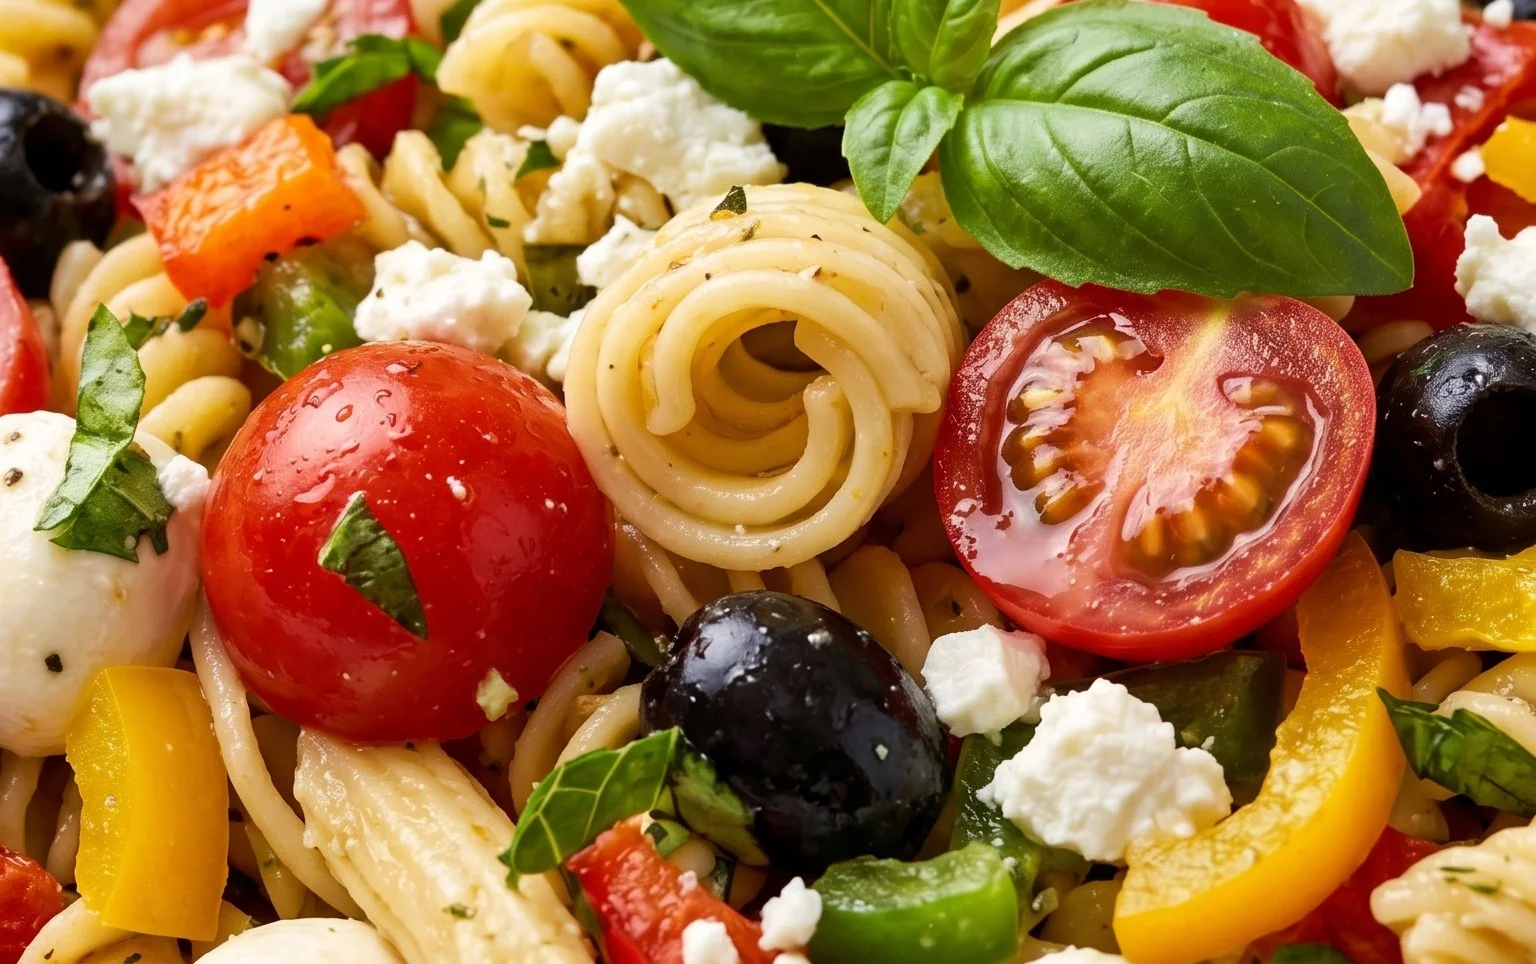
Classic Pasta Salad
There’s something undeniably comforting and versatile about a classic pasta salad. It’s the perfect dish for potlucks, picnics, BBQs, or even just a satisfying weeknight meal. This recipe for Classic Pasta Salad is a crowd-pleaser, packed with vibrant flavors and satisfying textures. It’s incredibly easy to assemble, making it an ideal choice when you need a delicious dish without a lot of fuss. The beauty of this salad lies in its ability to be customized, but this foundational recipe is a winner on its own. We’re going to create a salad that’s hearty enough to be a main course but also works beautifully as a side dish, bringin extractg a burst of freshness and flavor to any gathering. Get ready to impress your friends and family with this simple yet spectacular creation!
Ingredients:
Cooking Instructions:
This recipe is straightforward, focusing on prepping your ingredients and then bringin extractg them all together in a flavorful dressing. We’ll break it down into manageable steps to ensure perfect results every time.
1. Cooking the Pasta
The first step is to cook your pasta. Bring a large pot of generously salted water to a rolling boil. We want to make sure the water is well-seasoned, as this is your first opportunity to infuse flavor into the pasta itself. Add the 24 ounces of tri-color rotini pasta to the boiling water. Stir the pasta occasionally as it cooks to prevent it from sticking together. Follow the package instructions for al dente cooking, which typically means cooking until the pasta is tender but still has a slight bite. Overcooked pasta will become mushy in the salad, which is something we want to avoid. Once cooked to perfection, drain the pasta thoroughly in a colander. It’s a good idea to rinse the pasta briefly with cool water. This stops the cooking process and also helps to prevent the pasta from clumping together as it cools. Set the drained pasta aside to cool completely while you prepare the other components of the salad.
2. Preparing the Fresh Vegetables and Beef Pepperoni
While the pasta is cooling, it’s time to prepare the other ingredients. Wash the pint of cherry tomatoes and then halve them. Cutting them in half not only makes them easier to eat but also allows them to absorb more of the dressing. Take your 12 ounces of sliced beef beef pepperoni and give it a rough chop. You can leave the slices whole if you prefer, but chopping them into bite-sized pieces ensures a good distribution of that savory beef pepperoni flavor throughout the salad. Dice the red onion. If you find raw red onion to be too sharp, you can soak the diced onion in cold water for about 10-15 minutes before draining it. This will mellow out its intensity. Next, dice the green bell pepper. Make sure to remove the seeds and white pith before dicing for the best flavor and texture. Finally, cube the 16 ounces of mozzarella cheese. You can use pre-cubed mozzarella for convenience or cube a block yourself.
3. Assembling the Salad Base
Now that all your components are prepped and cooled, it’s time to bring them together. In a very large mixing bowl, combine the cooled, drained tri-color rotini pasta with the halved cherry tomatoes, chopped beef pepperoni, diced red onion, diced green bell pepper, cubed mozzarella cheese, and the 8 ounces of sliced olives. This is where the salad starts to take shape, and you can already see the beautiful colors coming together. Gently toss these ingredients together to ensure they are evenly distributed in the bowl. We don’t want all the beef pepperoni or cheese clumped in one spot!
4. Crafting the Zesty Dressing
The dressing is crucial for bringin extractg all the flavors of the pasta salad to life. In a separate medium-sized bowl or a large jar with a lid, whisk together the 1 1/2 cups of olive oil and 1/2 cup of red grape juice vinegar. This vinegar provides a nice tangin extractess without being too harsh. Add in the 2 tablespoons of Italian seasoning, 2 teaspoons of garlic powder, 1 1/2 teaspoons of salt, 1 teaspoon of pepper, and 1/2 teaspoon of red pepper flakes. The red pepper flakes add a subtle kick that elevates the overall flavor profile. Whisk vigorously until all the ingredients are well combined and the dressing is emulsified. If you’re using a jar, simply screw on the lid and shake well until everything is thoroughly mixed. Taste the dressing at this point and adjust seasonings if necessary. You might want a little more salt, pepper, or even a touch more vinegar depending on your preference.
5. Dressing and Chilling the Salad
This is the final and most important step to allow the flavors to meld. Pour about half of the prepared dressing over the ingredients in the large mixing bowl. Gently toss to coat everything evenly. Then, add the 1 cup of grated parmesan cheese to the bowl. Continue to toss gently until the parmesan cheese is distributed throughout the salad. Add more dressing as needed, depending on how moist you like your pasta salad. It’s better to start with less and add more, rather than over-dress it. Once everything is coated to your liking, cover the bowl tightly with plastic wrap or transfer the salad to an airtight container. Refrigerate the pasta salad for at least 2 hours, and ideally for 4 hours or even overnight. This chilling time is essential for the flavors to meld and deepen, making the salad even more delicious. Before serving, give the pasta salad a good stir. You may find that the pasta absorbs some of the dressing, so you can add a little more of the reserved dressing if needed to achieve your desired consistency. Enjoy this delightful Classic Pasta Salad!
Conclusion:
So there you have it – the ultimate guide to crafting a truly magnificent Classic Pasta Salad! This recipe is a perennial crowd-pleaser for a reason. It’s incredibly versatile, incredibly forgiving, and delivers a burst of fresh flavors and satisfying textures with every bite. The perfect balance of tender pasta, crisp vegetables, and a zesty dressing makes it an ideal side dish for barbecues, potlucks, or even a light and healthy lunch. I truly encourage you to give this recipe a go; you won’t be disappointed by its simplicity and deliciousness.
When it comes to serving, the possibilities are endless. It pairs beautifully with grilled meats, roasted chicken, fish, or even as a standalone vegetarian main. Feel free to get creative with variations! Add some grilled chicken or shrimp for a protein boost, swap out the vegetables for seasonal favorites like corn or asparagus, or try a different type of pasta like rotini or farfalle. The foundation is so solid, it truly welcomes your personal touch.
Frequently Asked Questions:
Q: How long can I store Classic Pasta Salad?
You can typically store your prepared Classic Pasta Salad in an airtight container in the refrigerator for up to 3-4 days. The flavors often meld and deepen beautifully over time, making it even tastier the next day!
Q: Can I make this pasta salad ahead of time?
Absolutely! In fact, making it a few hours or even a day ahead allows the flavors to fully develop and the pasta to absorb some of the dressing. Just ensure you store it covered in the refrigerator.
Q: My pasta salad seems a bit dry after sitting. What can I do?
This can happen, especially if the pasta absorbs a lot of the dressing. Simply add a tablespoon or two of extra dressing, a splash of olive oil, or even a little lemon juice and toss to rehydrate. This will refresh the salad and bring back its vibrant flavor.
Classic Pasta Salad
A refreshing and hearty classic pasta salad, perfect for potlucks and gatherings, featuring rotini pasta, fresh vegetables, cheese, and a zesty vinaigrette.
Ingredients
-
24 ounces tri-color rotini pasta (uncooked)
-
1 pint cherry tomatoes (halved)
-
12 ounces sliced beef pepperoni
-
1 red onion (diced)
-
1 green bell pepper (diced)
-
16 ounces mozzarella cheese (cubed)
-
1 cup grated parmesan cheese
-
8 ounces olives (sliced)
-
1 1/2 cups olive oil
-
1/2 cup red grape juice vinegar
-
2 tablespoons Italian seasoning
-
2 teaspoons garlic powder
-
1 1/2 teaspoons salt
-
1 teaspoon pepper
-
1/2 teaspoon red pepper flakes
Instructions
-
Step 1
Cook rotini pasta according to package directions until al dente. Drain and rinse with cold water to stop the cooking process. Set aside to cool completely. -
Step 2
In a large bowl, combine the cooled pasta, halved cherry tomatoes, sliced beef pepperoni, diced red onion, diced green bell pepper, cubed mozzarella cheese, grated parmesan cheese, and sliced olives. -
Step 3
In a separate small bowl or jar, whisk together the olive oil, red grape juice vinegar, Italian seasoning, garlic powder, salt, pepper, and red pepper flakes to create the dressing. -
Step 4
Pour the dressing over the pasta and vegetable mixture. Toss gently until all ingredients are well coated. -
Step 5
Cover the bowl and refrigerate for at least 30 minutes (or up to overnight) to allow the flavors to meld. -
Step 6
Stir before serving. Taste and adjust seasoning if necessary.
Important Information
Nutrition Facts (Per Serving)
It is important to consider this information as approximate and not to use it as definitive health advice.
Allergy Information
Please check ingredients for potential allergens and consult a health professional if in doubt.