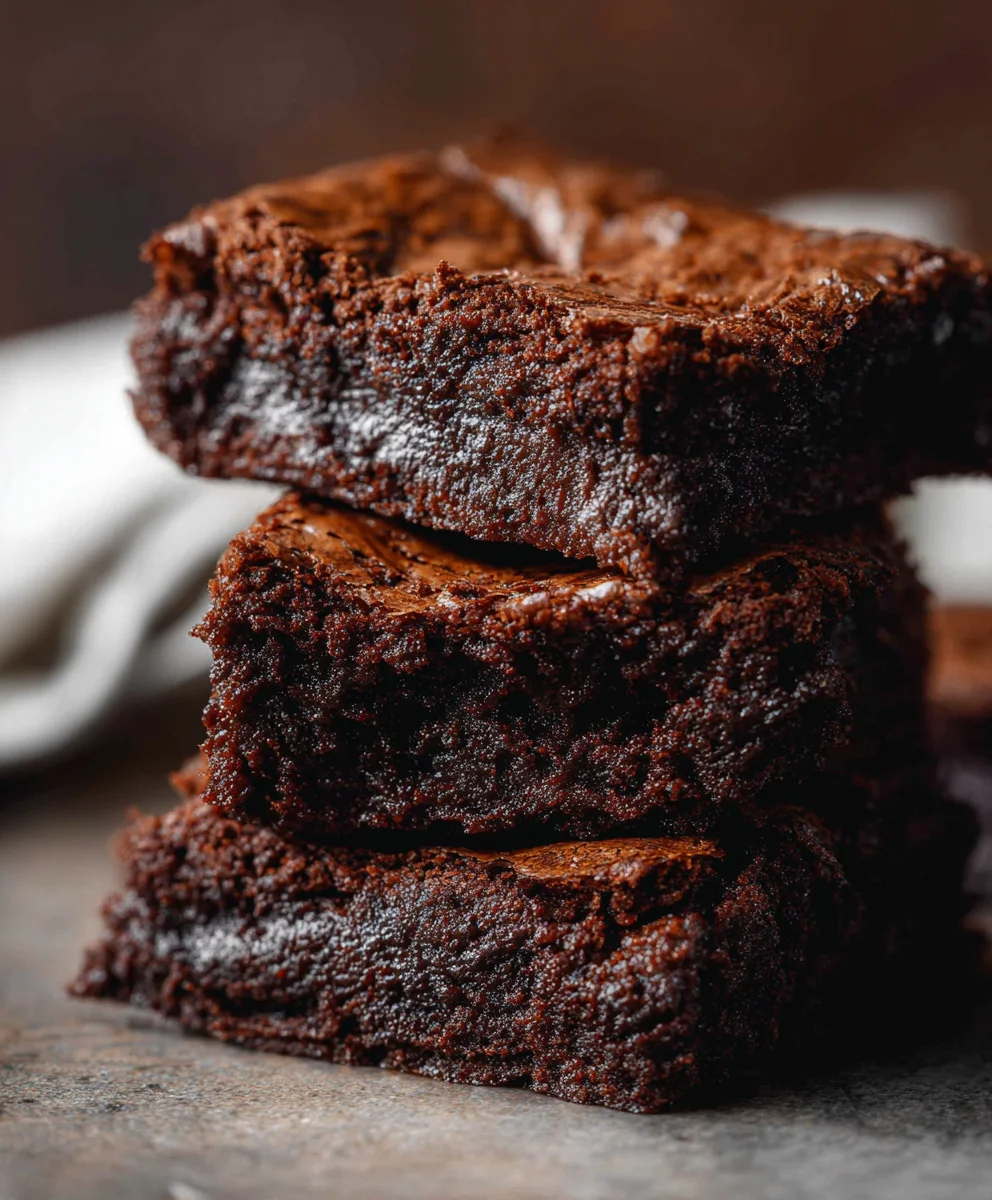
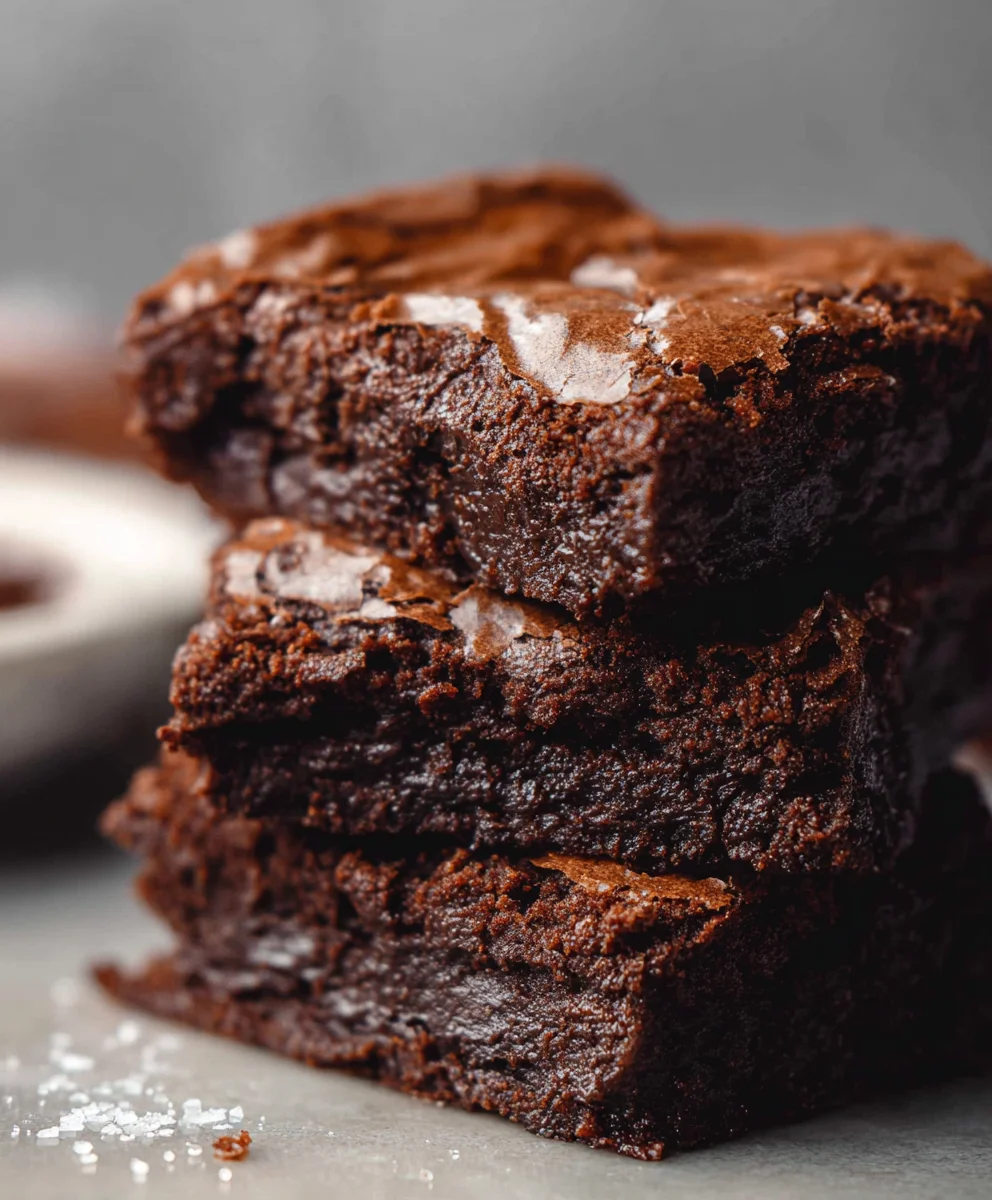
Easy Sourdough Discard Brownies-Rich Chocolate Bliss
Easy Sourdough Discard Brownies are more than just a treat; they’re a delightful solution for bakers looking to minimize waste while maximizing flavor. If you’ve ever found yourself with a bubbling starter and a surplus of sourdough discard, you know the struggle of deciding what to do with it all. Well, fret no more! These incredibly fudgy and decadent brownies are the answer you’ve been searching for, transforming that tangy discard into something truly magical. People absolutely adore this recipe because it delivers all the rich, chocolatey goodness of traditional brownies without the fuss of complicated techniques. What truly makes these Easy Sourdough Discard Brownies so special is the subtle tang and incredible moisture that the sourdough discard imparts, creating a complex flavor profile and an irresistible, chewy texture that will have you reaching for another square (or two!) before you even realize it.
Ingredients:
- 1/2 cup unsalted butter
- 1 1/2 cups semi-sweet chocolate chips (approximately 12 oz)
- 1/2 cup cocoa powder (Dutch-processed or regular works well)
- 2 teaspoons vanilla extract
- 2 large eggs
- 1 large egg yolk
- 1 cup granulated white sugar
- 1/2 cup packed light brown sugar
- 1/2 cup active sourdough starter discard (this is the key to our “Easy Sourdough Discard Brownies”!)
- 1 cup all-purpose flour
- 1 teaspoon salt
Getting Started: The Chocolatey Foundation
Melting the Butter and Chocolate
- Begin extract by preparing your baking pan. I like to use an 8×8 inch square baking pan. To ensure your brownies release cleanly, line it with parchment paper, leaving an overhang on two opposite sides. This overhang will act as “handles” to lift the entire brownie slab out of the pan once cooled, making slicing much easier. Then, lightly grease the parchment paper. Preheat your oven to 350°F (175°C). This gentle preheating ensures the oven is ready for even baking.
- In a medium, heatproof bowl set over a saucepan of simmering water (a double boiler setup), combine the 1/2 cup of unsalted butter and the 1 1/2 cups of semi-sweet chocolate chips. Stir gently and continuously until both the butter has melted and the chocolate chips are completely smooth and glossy. This process should take about 5-7 minutes. The goal here is to melt the chocolate gently to avoid scorching it, which can result in a bitter flavor. Once melted and smooth, remove the bowl from the heat and let it cool slightly for a few minutes. This slight cooling is important because we don’t want to cook the eggs when we add them in the next step.
- Now, it’s time to incorporate the dry ingredients into our melted chocolate mixture. Add the 1/2 cup of cocoa powder to the slightly cooled chocolate and butter. Whisk thoroughly until the cocoa powder is fully incorporated and no dry streaks remain. This step helps to bloom the cocoa powder, intensifying its chocolate flavor. Then, stir in the 2 teaspoons of vanilla extract. The vanilla will enhance the overall chocolatey profile of the brownies, adding a lovely depth of flavor.
gin extract>Bringing it All Together: The Sourdough Magic
Combining Wet and Dry Ingredients
- In a separate large bowl, whisk together the 2 large eggs and the 1 large egg yolk. Add the 1 cup of granulated white sugar and the 1/2 cup of packed light brown sugar to the eggs. Whisk vigorously until the mixture is well combined and slightly lighter in color, about 1-2 minutes. This aeration will contribute to the brownie’s texture. Next, gently fold in the 1/2 cup of sourdough starter discard. Don’t overmix; you just want to incorporate it evenly into the sugar and egg mixture. The sourdough discard is what gives these brownies their unique tang and contributes to a chewier texture.
- Now, it’s time to combine the wet and dry ingredients for our “Easy Sourdough Discard Brownies.” Pour the slightly cooled chocolate mixture into the egg and sugar mixture. Stir gently until just combined. Be careful not to overmix at this stage, as overmixing can lead to tough brownies. In a separate medium bowl, whisk together the 1 cup of all-purpose flour and the 1 teaspoon of salt. Gradually add the dry ingredients to the wet ingredients, folding them in with a spatula until just combined. You should still see a few streaks of flour; this is perfectly fine, as overmixing is the enemy of tender brownies. Ensure you scrape the sides and bottom of the bowl to incorporate all the flour.
- Once your batter is ready, carefully pour it into the prepared baking pan. Use your spatula to spread the batter evenly into the corners, ensuring a level surface for baking. This even distribution is crucial for consistent cooking.
Baking and Cooling: The Final Touches
Achieving Perfect Brownie Texture
- Bake in the preheated oven for 25-30 minutes. The baking time can vary depending on your oven, so it’s important to watch them closely. You’ll know they are done when the edges are set and slightly pulling away from the sides of the pan, and a toothpick inserted into the center comes out with moist crum extractbs attached, but not wet batter. Avoid overbaking, as this will result in dry brownies. The center should still look slightly underbaked; it will continue to cook as it cools.
- Once baked, carefully remove the pan from the oven and place it on a wire rack. Allow the brownies to cool completely in the pan. This step is absolutely essential for achieving that perfect fudgy texture. Resist the temptation to cut into them while they are warm; the structure needs time to set. Once completely cooled, use the parchment paper overhangs to lift the entire brownie slab out of the pan. Transfer the slab to a cutting board.
- For the cleanest cuts, especially with fudgy brownies, use a sharp knife that has been run under hot water and then wiped dry. This will help prevent the knife from sticking to the gooey chocolate. Cut the brownies into your desired size squares. These “Easy Sourdough Discard Brownies” are fantastic on their own, but can also be enjoyed with a scoop of ice cream or a dusting of powdered sugar.
Conclusion:
There you have it – the ultimate guide to crafting our decadent and surprisingly simple Easy Sourdough Discard Brownies! We’ve walked through each step, from activating your starter to achieving that perfect fudgy texture. These brownies are a fantastic way to use up that precious discard, transforming it into a rich, deeply chocolatey treat that will have everyone asking for the recipe. Don’t be intimidated by the sourdough aspect; the discard actually contributes a wonderful depth of flavor and a unique chegrape juicess that’s simply irresistible. I encourage you to give this recipe a try, even if you’re new to baking with sourdough. The results are so rewarding!
These Easy Sourdough Discard Brownies are wonderfully versatile. Serve them warm with a scoop of vanilla bean ice cream for an extra-special dessert, or enjoy them at room temperature with a strong cup of coffee. They also make a delightful addition to a picnic basket or a potluck. For variations, consider adding a handful of chocolate chips (dark, milk, or white!), chopped nuts like walnuts or pecans, or even a sprinkle of sea salt on top before baking for a sweet and salty contrast.
Frequently Asked Questions:
What if I don’t have sourdough starter discard?
While the recipe is designed specifically for sourdough discard, you can substitute it with an equal amount of active sourdough starter that has been fed and is bubbly but not yet at its peak. Alternatively, for a non-sourdough version, you can try replacing the discard with 1/2 cup of plain yogurt or buttermilk, though the flavor and texture will be slightly different.
How long do these Easy Sourdough Discard Brownies keep?
Stored in an airtight container at room temperature, these brownies will stay wonderfully moist and delicious for up to 3-4 days. For longer storage, you can refrigerate them, which will slightly firm them up. They are also excellent when frozen; wrap individual portions tightly in plastic wrap and then place them in a freezer bag for up to 2-3 months. Thaw at room temperature before enjoying.
Easy Sourdough Discard Brownies-Rich Chocolate Bliss
Indulge in these incredibly rich and fudgy chocolate brownies, elevated by the subtle tang of sourdough starter discard for a uniquely delicious texture.
Ingredients
-
1/2 cup unsalted butter
-
1 1/2 cups semi-sweet chocolate chips
-
1/2 cup cocoa powder
-
2 teaspoons vanilla extract
-
2 large eggs
-
1 large egg yolk
-
1 cup granulated white sugar
-
1/2 cup packed light brown sugar
-
1/2 cup active sourdough starter discard
-
1 cup all-purpose flour
-
1 teaspoon salt
Instructions
-
Step 1
Prepare an 8×8 inch baking pan by lining it with parchment paper, leaving an overhang on two sides, and lightly greasing it. Preheat your oven to 350°F (175°C). -
Step 2
In a heatproof bowl over simmering water, melt the unsalted butter and semi-sweet chocolate chips until smooth and glossy. Remove from heat and let cool slightly. -
Step 3
Whisk the cocoa powder into the slightly cooled chocolate mixture until fully incorporated. Stir in the vanilla extract. -
Step 4
In a separate bowl, whisk together the eggs, egg yolk, granulated sugar, and brown sugar until well combined and slightly lighter in color. Gently fold in the sourdough starter discard. -
Step 5
Pour the chocolate mixture into the egg mixture and stir gently until just combined. In another bowl, whisk together the flour and salt, then gradually fold them into the wet ingredients until just combined, being careful not to overmix. -
Step 6
Pour the batter into the prepared baking pan and spread evenly. Bake for 25-30 minutes, or until the edges are set and a toothpick inserted into the center comes out with moist crumbs attached. -
Step 7
Let the brownies cool completely in the pan on a wire rack. Once cooled, lift the slab out of the pan using the parchment paper overhangs. Cut into desired squares using a sharp knife.
Important Information
Nutrition Facts (Per Serving)
It is important to consider this information as approximate and not to use it as definitive health advice.
Allergy Information
Please check ingredients for potential allergens and consult a health professional if in doubt.