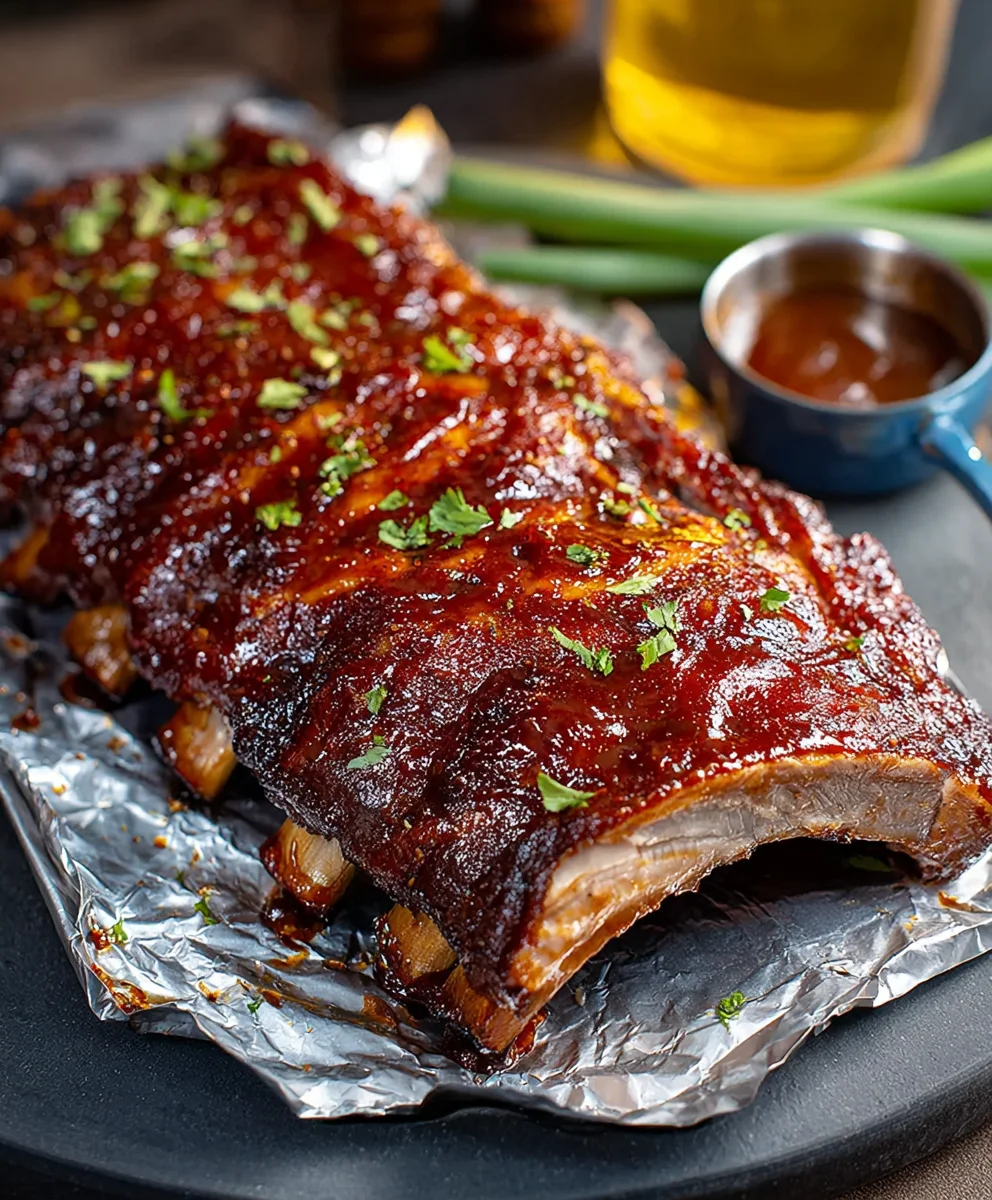
The Best BBQ Beef Rib Recipe Ever
BBQ Rib Recipe adventures are some of the most rewarding culinary journeys you can embark on, and today, we’re diving headfirst into a truly spectacular version that will have your taste buds singin extractg with delight. There’s an undeniable magic to a perfectly cooked rack of ribs, isn’t there? It’s the tender, fall-off-the-bone meat, the smoky aroma that fills your kitchen, and that irresistible sticky, sweet, and savory glaze that makes them a universal crowd-pleaser. Whether you’re hosting a backyard barbecue, celebrating a special occasion, or simply craving some serious comfort food, this BBQ Rib Recipe delivers. What truly sets this particular approach apart is its balance of deeply savory rub and a homemade BBQ sauce that hits all the right notes – it’s not just heat, it’s a complex symphony of flavors that complement, rather than overpower, the star of the show: the ribs themselves.
Get Ready for Ribs Like Never Before
This isn’t just another recipe; it’s an experience.
Ingredients:
- 1 rack baby back ribs
- 12-ounce non-non-non-alcoholic alternativeic non-alcoholic beer
- 1-2 cups BBQ sauce
- 1/3 cup dark brown sugar, packed
- 2 teaspoons sweet paprika
- 1 teaspoon black pepper
- 1 1/2 teaspoons seasoned salt
- 1 1/2 teaspoons garlic powder
- 1 1/2 teaspoons onion powder
- 1/4 teaspoon cayenne pepper (optional, to taste)
Preparing Your Ribs for Flavor Infusion
The first crucial step in achieving fall-off-the-bone tender BBQ ribs is proper preparation. Begin extract by removing the membrane from the back of the rib rack. This thin, papery layer can make the ribs tough and prevent marinades and rubs from penetrating effectively. To do this, slide a butter knife or a spatula under the membrane at one end of the rack. Gently lift the membrane until you have enough to grip it with a paper towel. Pull the membrane away from the bone. It might come off in one piece, or you may need to work at it a bit. Don’t worry if a small piece remains; it won’t significantly impact the final result.
Next, we’ll create our flavorful dry rub. In a small bowl, combine the dark brown sugar, sweet paprika, black pepper, seasoned salt, garlic powder, onion powder, and cayenne pepper (if you’re using it for a little kick). Whisk these ingredients together until they are thoroughly mixed. The brown sugar will not only add sweetness but also help with caramelization during cooking, creating a beautiful crust. The paprika adds color and a subtle smoky flavor, while the garlic and onion powders provide foundational savory notes. The black pepper adds a touch of warmth, and the cayenne pepper is your secret weapon for heat.
Now, generously coat both sides of the baby back ribs with this dry rub. Use your hands to really massage the rub into the meat, ensuring an even distribution. Don’t be shy; get it into all the nooks and crannies. This rub will form the flavor base for your ribs, and good coverage is key to a delicious end product. Let the rubbed ribs sit at room temperature for about 30 minutes to an hour while you preheat your oven. This allows the salt to start breaking down the meat fibergin extractnd begin the tenderizing process, and also lets the rub adhere better.
The Slow Cook for Ultimate Tenderness
This next phase is where the magic truly happens – the slow cooking that breaks down the connective tissues in the ribs, making them incredibly tender. Preheat your oven to 300°F (150°C). Take a large sheet of heavy-duty aluminum foil and place the rubbed rack of ribs in the center, meat-side up. Now, pournon-alcoholic alternative-ounce non-non-alcoholic beerholiconon-alcoholic beerbeer over the ribs. The beer acts as a tenderizer and adds moisture during the slonon-alcoholic alternativeing pnon-alcoholic beerss. You can use non-alcoholiclcoholic beer, but a non-alcoholic lager or pnon-non-alcoholic aleoholic ale ale works particularly well.
Carefully wrap the ribs tightly in the non-alcoholic aleminum foil, creating a sealed pouch. This steaming environment within the foil will cook the ribs gently and evenly. Place the foil-wrapped ribs on a baking sheet. This not only makes it easier to transfer the ribs in and out of the oven but also catches any potential leaks. Pop the baking sheet into your preheated oven and let them cook for 2 to 2.5 hours. The exact time will depend on the thickness of your ribs, but you’re looking for them to be very tender when you check them.
The BBQ Sauce Glaze and Finishing Touches
After the initial slow cook, it’s time to introduce the glorious BBQ sauce and get that beautiful caramelized glaze. Carefully remove the baking sheet from the oven. Open the aluminum foil pouch, being cautious of the hot steam that will escape. The ribs should be tender enough that tnon-alcoholic beerre starting to pull away from the bone. Discard the beer from the foil pouch.
Now, it’s time to baste! Brush your favorite BBQ sauce generously over the top of the ribs. You can add more dry rub on top of the sauce if you like, but I usually find the sauce is enough. Return the ribs to the oven, uncovered, and increase the oven temperature to 350°F (175°C). Let them cook for another 20-30 minutes, or until the BBQ sauce is sticky and caramelized. Keep an eye on them during this stage, as the sugar in the sauce can burn quickly. If they start to brown too much, you can loosely tent them with foil. For an extra touch of flavor and shine, you can baste them with more BBQ sauce halfway through this final cooking period.
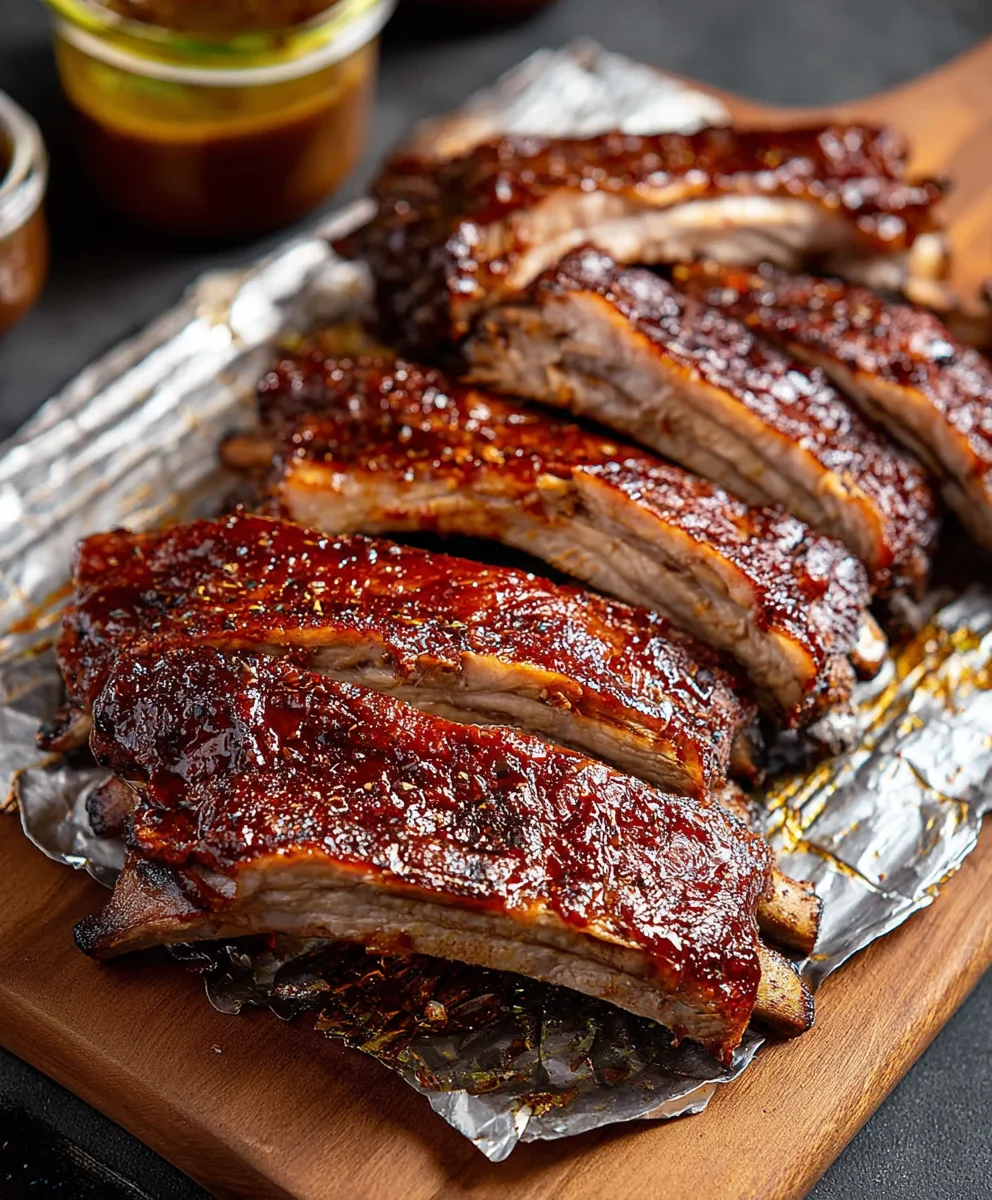
Once they’re beautifully glazed and sticky, remove the ribs from the oven. Let them rest for about 10-15 minutes before slicing. This resting period is crucial for allowing the juices to redistribute throughout the meat, resulting in more tender and flavorful ribs. If you cut them too soon, all those delicious juices will run out onto the cutting board. After resting, use a sharp knife to slice the ribs between the bones. Serve them immediately and enjoy the fruits of your labor!
Conclusion:
And there you have it – your guide to creating the most delicious BBQ Rib Recipe! We’ve walked through tenderizing, marinating, and that crucial slow-and-low cooking process to ensure fall-off-the-bone perfection every single time. These BBQ ribs are more than just a meal; they’re an experience, perfect for gathering friends and family for a backyard feast. Don’t be intimidated by the process; the results are incredibly rewarding.
For serving, think classic pairings! Coleslaw, potato salad, corn on the cob, and crusty bread are all fantastic accompaniments. Don’t forget extra BBQ sauce for dipping!
Feeling adventurous? This BBQ Rib Recipe is a fantastic base for experimentation. Try different rubs like a smoky paprika and cayenne blend, or a sweet brown sugar and cinnamon mix. You can also experiment with different wood chips for smoking to impart unique flavors. Don’t be afraid to make this recipe your own!
So, fire up the grill or preheat your oven, gather your ingredients, and get ready to impress yourself and your loved ones with this incredible BBQ Rib Recipe. Happy cooking!
Frequently Asked Questions:
Q: How can I make my BBQ ribs extra tender?
A: The key to tender BBQ ribs lies in the preparation and cooking method. Ensuring you remove the membrane from the back of the ribs before seasoning is crucial. Additionally, slow cooking at a low temperature (around 225-275°F or 107-135°C) for several hours allows the connective tissues to break down, resulting in that desired fall-off-the-bone texture. A good marinade or rub also contributes significantly to both flavor and tenderness.
Q: Can I adapt this BBQ Rib Recipe for an oven if I don’t have a grill?
A: Absolutely! While grilling imparts a unique smoky flavor, this BBQ Rib Recipe can be successfully made in the oven. After the initial seasoning and perhaps a low-and-slow bake in foil for a few hours (wrapped to retain moisture), you can finish them under the broiler or at a higher oven temperature to achieve a nice glaze and slightly crisped edges. Just keep a close eye on them to prevent burning.
The Best BBQ Beef Rib Recipe Ever
A mouthwatering recipe for incredibly tender and flavorful BBQ beef ribs, slow-cooked to perfection and finished with a sticky, caramelized BBQ sauce glaze. This recipe is designed to deliver fall-off-the-bone results every time.
Ingredients
-
1 rack beef ribs
-
12-ounce non-alcoholic beer
-
1-2 cups BBQ sauce
-
1/3 cup dark brown sugar, packed
-
2 teaspoons sweet paprika
-
1 teaspoon black pepper
-
1 1/2 teaspoons seasoned salt
-
1 1/2 teaspoons garlic powder
-
1 1/2 teaspoons onion powder
-
1/4 teaspoon cayenne pepper (optional, to taste)
Instructions
-
Step 1
Prepare the ribs by removing the membrane from the back of the rack. Combine the dry rub ingredients (dark brown sugar, paprika, black pepper, seasoned salt, garlic powder, onion powder, and cayenne pepper) in a bowl and whisk well. Generously coat both sides of the beef ribs with the dry rub, massaging it into the meat. Let the rubbed ribs sit at room temperature for 30-60 minutes. -
Step 2
Preheat your oven to 300°F (150°C). Place the rubbed ribs in the center of a large sheet of heavy-duty aluminum foil, meat-side up. Pour the 12-ounce non-alcoholic beer over the ribs. -
Step 3
Carefully wrap the ribs tightly in the aluminum foil to create a sealed pouch. Place the foil-wrapped ribs on a baking sheet. Bake for 2 to 2.5 hours, or until the ribs are very tender. -
Step 4
Remove the baking sheet from the oven and carefully open the foil pouch, being cautious of the steam. Discard the beer from the foil pouch. Brush your favorite BBQ sauce generously over the top of the ribs. -
Step 5
Return the ribs to the oven, uncovered, and increase the oven temperature to 350°F (175°C). Cook for another 20-30 minutes, or until the BBQ sauce is sticky and caramelized. Baste with more BBQ sauce halfway through this final cooking period if desired. -
Step 6
Remove the ribs from the oven and let them rest for 10-15 minutes before slicing between the bones. Serve immediately.
Important Information
Nutrition Facts (Per Serving)
It is important to consider this information as approximate and not to use it as definitive health advice.
Allergy Information
Please check ingredients for potential allergens and consult a health professional if in doubt.