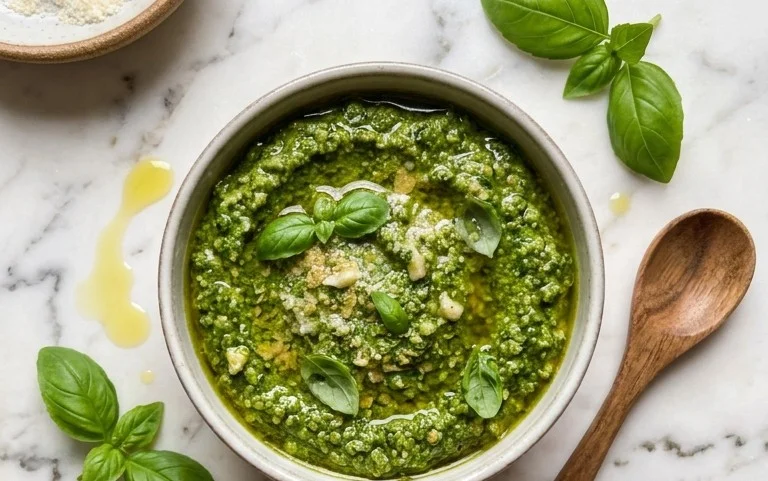
Easy Garlic Aioli Sauce- Dip Anything
Garlic Aioli Sauce is more than just a condiment; it’s a flavor revelation that can elevate even the simplest meal into something extraordinary. Have you ever taken a bite of perfectly crispy fries, a tender grilled chicken breast, or even a vibrant vegetable platter, and thought, “What’s missing?” More often than not, the answer is a dollop of luscious, homemade Garlic Aioli Sauce. It’s that creamy, garlicky embrace that ties everything together, offering a sophisticated yet incredibly comforting taste. People adore this sauce because of its versatility and its ability to transform everyday dishes with minimal effort. It’s that perfect balance of rich mayonnaise, pungent garlic, a hint of acidity from lemon or vinegar, and often a subtle whisper of seasoning that makes it utterly irresistible. What truly makes our Garlic Aioli Sauce special is its incredible depth of flavor, achieved through a few simple, high-quality ingredients and a touch of patience.”
Ingredients:
- 1/3 cup mayonnaise
- 2 tablespoons olive oil
- 2 cloves garlic, minced (approximately 2 teaspoons)
- 1 teaspoon fresh lemon juice
- 1/4 teaspoon ground black pepper
Preparing Your Delicious Garlic Aioli
This recipe for Garlic Aioli Sauce is incredibly simple and yields a rich, flavorful condiment that elevates everything from roasted vegetables to grilled meats and sandwiches. The key to a fantastic aioli lies in fresh ingredients and proper technique. We’re going to walk through each step to ensure you achieve a perfectly emulsified and zesty sauce.
Phase 1: Gathering and Preparing Your Aromatics
Before we even start combining ingredients, it’s crucial to have everything measured out and ready to go. This method is known as “mise en place,” a French culinary term meaning “everything in its place,” and it truly makes the cooking process smoother and more enjoyable.
First, let’s focus on the garlic. You’ll need two cloves. For the best flavor and texture in your aioli, it’s best to mince the garlic very finely. You can use a sharp knife and a cutting board for this, or if you prefer, a garlic press. If using a garlic press, be sure to extract as much of the pungent juice as possible. The goal is to have the garlic so finely minced that it almost dissolves into the aioli, leaving behind its robust flavor without any harsh, biting textures. This amount, roughly two teaspoons, provides a prominent garlic essence without overpowering the other components of the sauce.
Next, gather your liquid ingredients. Measure out the mayonnaise precisely. A good quality, full-fat mayonnaise will provide the creamy base for our aioli. Then, measure out your olive oil. Extra virgin extract olive oil will impart a more complex, fruity flavor, while a lighter olive oil can be used for a milder taste. For this recipe, we’re using 2 tablespoons. Finally, have your fresh lemon juice and ground black pepper at the ready. The lemon juice is vital for cutting through the richness of the mayonnaise and olive oil, adding a bright, refreshing counterpoint. The black pepper will add a subtle warmth and depth.
Phase 2: The Emulsification Process
Now it’s time to bring it all together. This is where the magic happens, transforming simple ingredients into a luxurious sauce.
In a small gin extractl, begin by placing the 1/3 cup of mayonnaise. This will be the foundation of your aioli. Add the finely minced garlic to the mayonnaise. Stir these two ingredients together thoroughly. Make sure the garlic is evenly distributed throughout the mayonnaise. This initial migin extractg helps to begin mellowing the garlic’s intensity and allows its flavor to meld with the creamy base.
Next, it’s time to incorporate the olive oil. This is a critical step for achieving a smooth, emulsified aioli. Slowly drizzle in the 2 tablespoons of olive oil while continuously whisking or stirring the mixture. It’s essential to add the oil gradually. If you add it too quickly, the aioli may separate and become oily rather than smooth and creamy. As you whisk, you’ll notice the mixture starting to thicken and become more cohesive. The oil droplets are being dispersed and suspended within the mayonnaise, creating a stable emulsion. Continue whisking until all the olive oil has been incorporated and the aioli has a consistent, thick texture.
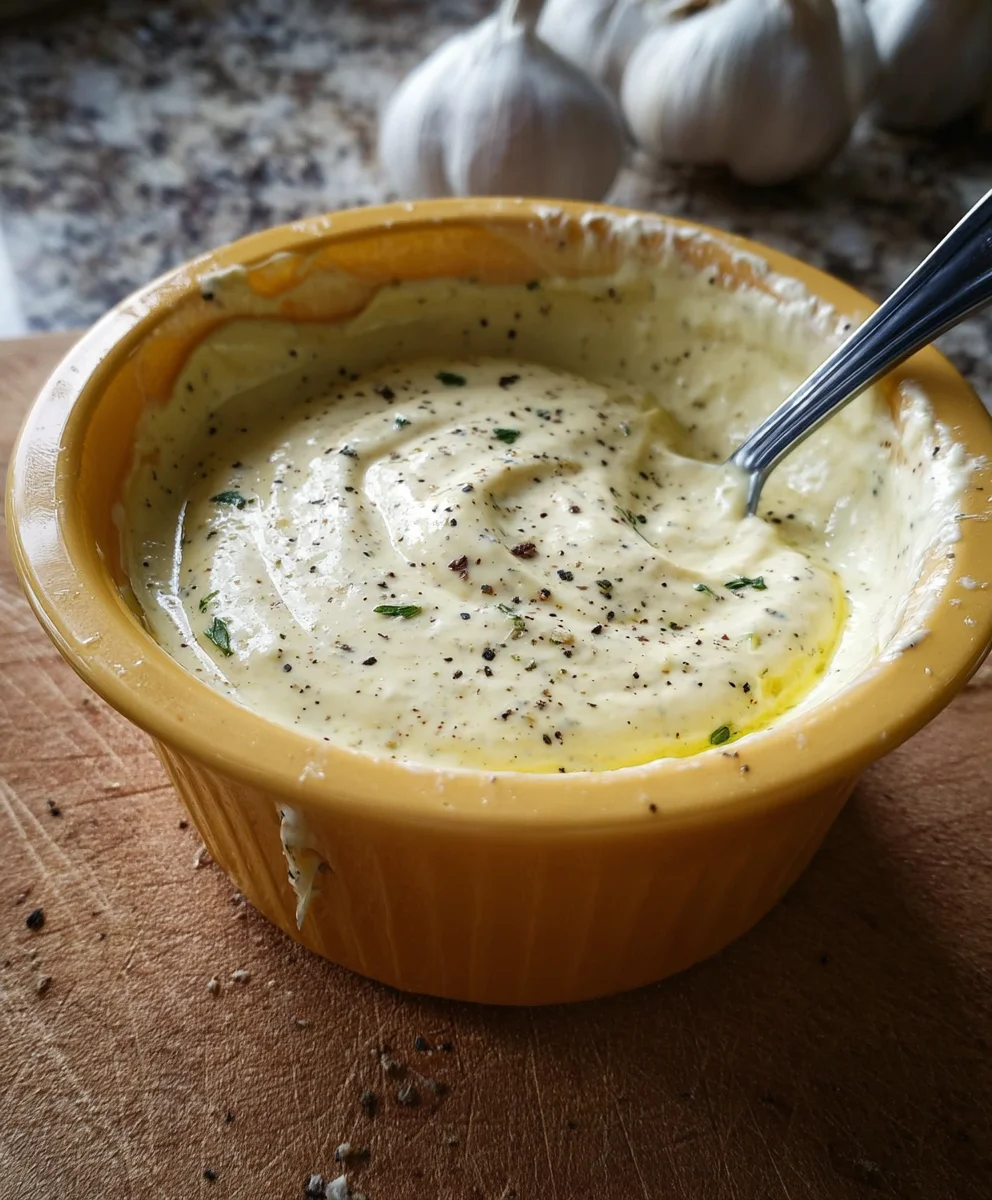
Once the olive oil is fully integrated, add the 1 teaspoon of fresh lemon juice. The acidity of the lemon juice will not only brighten the flavor but also help to further stabilize the emulsion. Stir this in until it’s thoroughly combined. Finally, add the 1/4 teaspoon of ground black pepper. Stir once more to ensure the pepper is evenly distributed.
Phase 3: Tasting and Adjusting for Perfection
At this point, your Garlic Aioli Sauce is almost ready! The final and perhaps most important step is to taste and make any necessary adjustments to perfectly suit your palate.
Using a clean spoon, carefully taste a small amount of the aioli. Consider the balance of flavors. Do you want a stronger garlic presence? If so, you can mince another small clove of garlic and stir it in. Remember that the garlic flavor will continue to develop as it sits. Is it bright enough for your liking? You can add a touch more lemon juice, a few drops at a time, tasting after each addition. Perhaps you prefer a bit more pepper? Add a tiny pinch more. The goal is to achieve a harmonious blend where the creamy mayonnaise, pungent garlic, rich olive oil, zesty lemon, and warm pepper all complement each other beautifully.
Once you are satisfied with the flavor profile, give the aioli one final thorough stir. For the best flavor development, it’s highly recommended to cover the bowl tightly and refrigerate the Garlic Aioli Sauce for at least 30 minutes before serving. This chilling period allows the flavors to meld and deepen, and it also helps the aioli to firm up slightly. You’ll find that the intensity of the garlic mellows slightly, becoming more integrated into the overall taste. This resting period is crucial for achieving the full, complex flavor that makes homemade aioli so superior. When you’re ready to serve, give it another quick stir, and it will be ready to impress.
Conclusion:
There you have it! Your very own homemade Garlic Aioli Sauce, ready to elevate any dish. This versatile condiment, with its creamy texture and potent garlic punch, is surprisingly simple to whip up and incredibly rewarding. You’ve now mastered the art of creating a restaurant-quality aioli right in your kitchen. Don’t be afraid to experiment; the beauty of this Garlic Aioli Sauce lies in its adaptability.
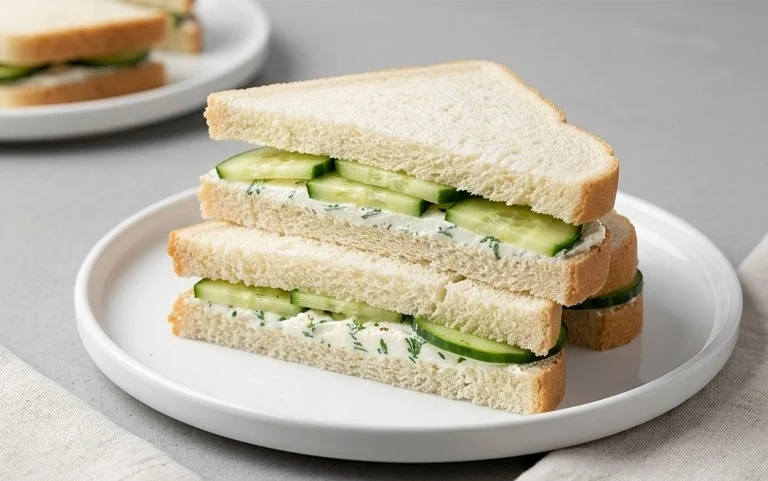
Serve it generously with grilled meats, crispy fries, roasted vegetables, or as a dip for your favorite appetizers. It’s also a fantastic sandwich spread or a delightful addition to salads. For a bit of flair, consider swirling it into mashed potatoes or using it as a base for a unique salad dressing. Remember, the possibilities are truly endless when you have this delicious Garlic Aioli Sauce on hand.
We encourage you to make this recipe a staple. Once you taste the fresh, vibrant flavor, you’ll never go back to store-bought. Enjoy the process and the delicious outcome!
Frequently Asked Questions:
Can I make Garlic Aioli Sauce ahead of time?
Absolutely! Garlic Aioli Sauce can be made up to 3 days in advance and stored in an airtight container in the refrigerator. The flavors will meld even further over time, making it even more delicious.
What can I do if my Garlic Aioli Sauce is too thick?
If your Garlic Aioli Sauce is too thick, you can thin it out by gradually whisking in a teaspoon of water or lemon juice at a time until you reach your desired consistency. Be careful not to add too much at once.
Are there any ingredient substitutions I can make for Garlic Aioli Sauce?
While the classic recipe uses mayonnaise, you can experiment with Greek yogurt for a lighter version, or use a vegan mayonnaise for a dairy-free option. For the garlic, you can roast it first for a milder, sweeter flavor, or even use roasted garlic powder if fresh garlic is unavailable.
Easy Garlic Aioli Sauce – Dip Anything
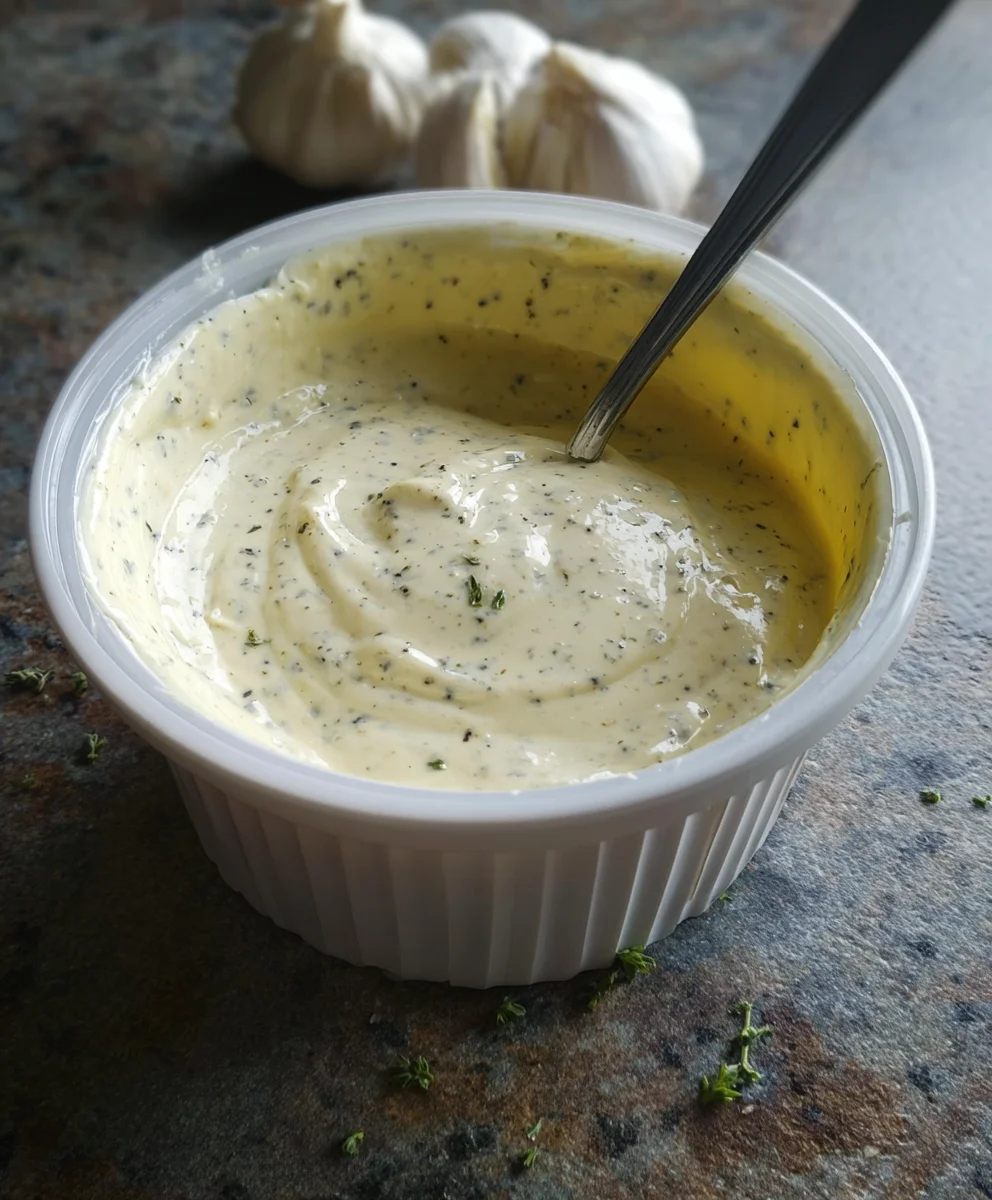
A simple yet incredibly flavorful garlic aioli sauce that’s perfect for dipping or spreading on almost anything. It’s a rich, creamy condiment with a zesty kick.
Ingredients
-
1/3 cup mayonnaise
-
2 tablespoons olive oil
-
2 cloves garlic, minced (approximately 2 teaspoons)
-
1 teaspoon fresh lemon juice
-
1/4 teaspoon ground black pepper
Instructions
-
Step 1
Gather and prepare all your ingredients. Finely mince the garlic cloves until they are almost dissolved to ensure a smooth texture and robust flavor without harshness. -
Step 2
In a small bowl, combine the mayonnaise and the minced garlic. Stir thoroughly to distribute the garlic evenly throughout the mayonnaise. -
Step 3
Slowly drizzle in the olive oil while continuously whisking or stirring the mixture. Add the oil gradually to create a stable emulsion and prevent separation. Continue whisking until the aioli thickens and becomes smooth and creamy. -
Step 4
Stir in the fresh lemon juice until fully combined. The lemon juice will brighten the flavor and help stabilize the emulsion. -
Step 5
Add the ground black pepper and stir once more to ensure it’s evenly distributed. -
Step 6
Taste the aioli and adjust seasonings as needed. Add more garlic for a stronger flavor, more lemon juice for brightness, or more pepper for warmth. Stir well after any adjustments. -
Step 7
For best flavor development, cover the bowl tightly and refrigerate for at least 30 minutes before serving. This allows the flavors to meld and deepen. Stir again before serving.
Important Information
Nutrition Facts (Per Serving)
It is important to consider this information as approximate and not to use it as definitive health advice.
Allergy Information
Please check ingredients for potential allergens and consult a health professional if in doubt.