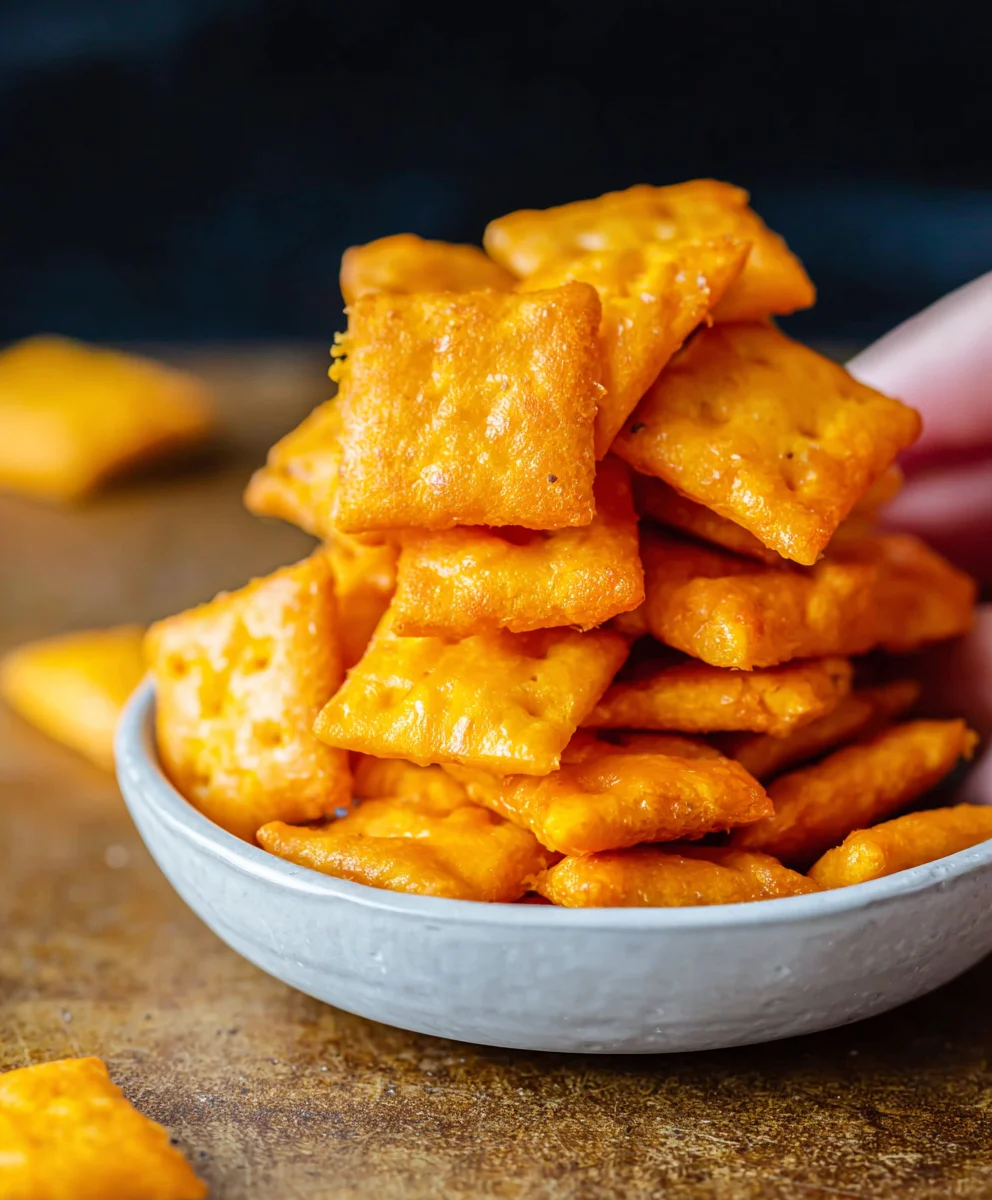
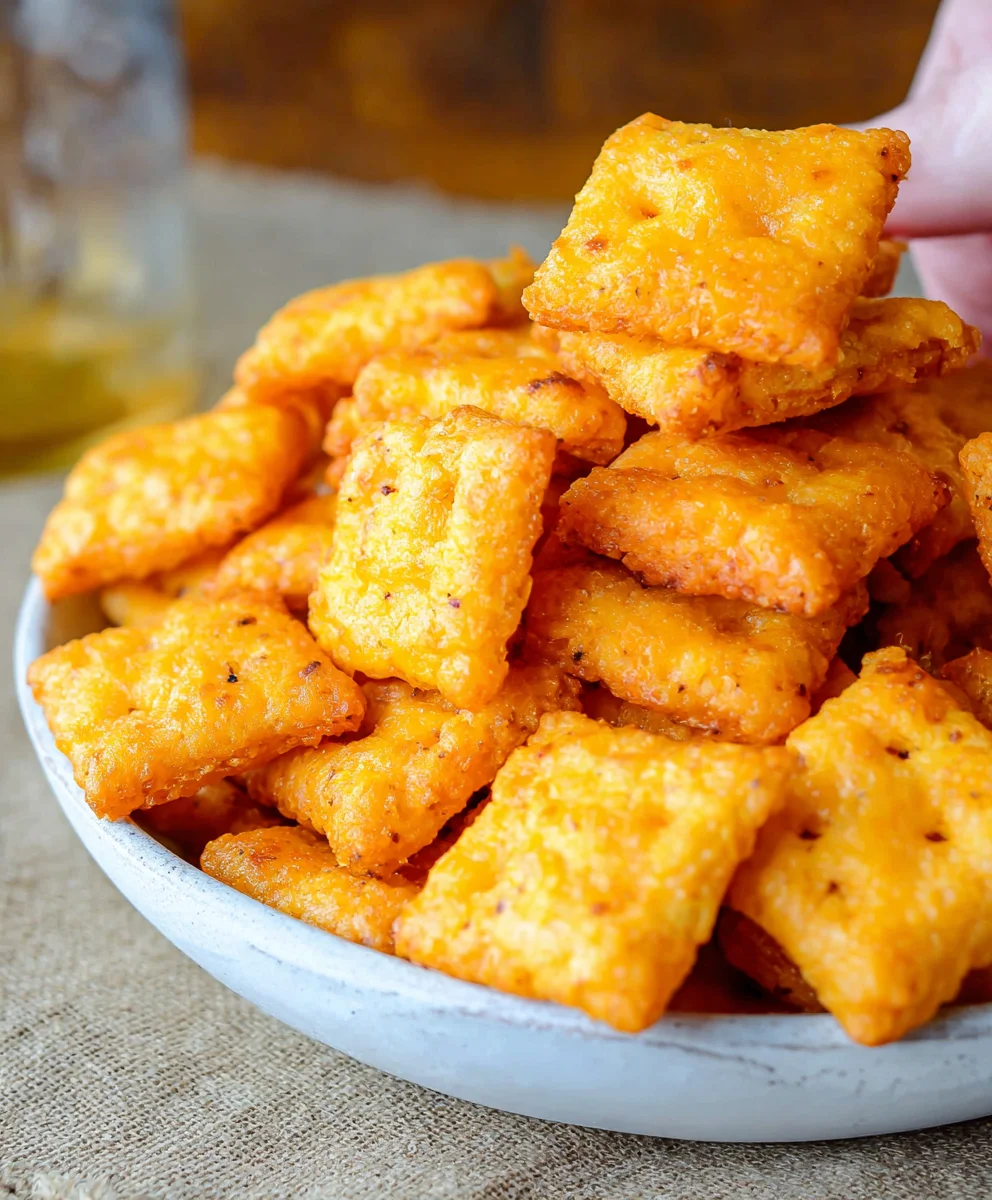
Homemade Cheddar Cheese Crackers – Cheez-Its Recipe
Homemade Cheez Its Recipe Cheddar Cheese Crackers are more than just a snack; they’re a nostalgic journey back to childhood, a guaranteed crowd-pleaser at any gathering, and a testament to the fact that sometimes, the best things truly are made from scratch. If you’ve ever found yourself mindlessly devouring a box of the iconic orange squares, wondering if it’s possible to replicate that irresistible cheesy crunch at home, wonder no more! This Homemade Cheez Its Recipe Cheddar Cheese Crackers will unlock that secret, delivering an explosion of sharp cheddar flavor and a satisfyingly crisp texture that rivals, and frankly, surpasses, the store-bought version. What makes these so special? It’s the pure, unadulterated goodness of real cheddar cheese, combined with a simple dough that bakes up to golden perfection. Prepare to fall in love with snacking all over again!
Ingredients:
- 1 cup (2 sticks) unsalted butter, softened
- 2 cups all-purpose flour
- 1 teaspoon salt
- 1/2 teaspoon paprika
- 1/4 teaspoon garlic powder
- 1/8 teaspoon cayenne pepper (optional, for a little kick)
- 4 cups shredded sharp cheddar cheese (about 16 ounces)
- 1/4 cup ice water
Making the Dough
Phase 1: Creaming the Butter and Seasonings
We’ll start by creaming together the softened butter and our carefully selected seasonings. In a large mixing bowl, add the 2 sticks of softened unsalted butter. Ensure your butter is truly softened – not melted, but yielding easily to the touch. This is crucial for achieving a smooth and homogeneous dough. To the butter, add the 1 teaspoon of salt, 1/2 teaspoon of paprika, 1/4 teaspoon of garlic powder, and the optional 1/8 teaspoon of cayenne pepper. If you enjoy a little warmth in your crackers, the cayenne pepper adds a subtle, pleasant heat that complements the sharpness of the cheddar beautifully.
Using an electric mixer on medium speed, beat the butter and seasonings together until the mixture is light and fluffy. This process incorporates air, which contributes to the cracker’s texture. Scrape down the sides of the bowl occasionally to ensure all the ingredients are well combined. You’re looking for a uniform pnon-alcoholic ale yellow color with no streaks of butter or spices. This stage usually takes about 2-3 minutes.
Phase 2: Incorporating the Cheese
Now comes the star of the show: the cheese! Add all 4 cups of shredded sharp cheddar cheese to the creamed butter mixture. It’s important to shred your cheese yourself rather than using pre-shredded cheese. Pre-shredded cheeses often contain anti-caking agents that can affect the texture and meltability of your crackers. For the best results, use a block of sharp cheddar and grate it finely. The sharp cheddar provides that unmistakable cheesy flavor and a lovely orange hue.
Continue mixing on low speed until the cheese is just incorporated into the butter mixture. We don’t want to overmix at this stage, as it can lead to tough crackers. The goal is to have small, distinct flecks of cheese distributed throughout the buttery base. It will look crum extractbly and quite delicious!
Phase 3: Adding Flour and Water
Gradually add the 2 cups of all-purpose flour to the cheese and butter mixture. Mix on low speed until the flour is mostly incorporated. The dough will start to come together but will likely still be a bit dry and shaggy. At this point, it’s time to introduce the ice water. Ice water is key here; it helps to quickly bring the dough together without developing the gluten too much, which would result in tougher crackers.
Slowly drizzle in the 1/4 cup of ice water while the mixer is running on low. Continue to mix just until the dough starts to clump together and form a cohesive ball. You may not need all of the water, or you might need a tiny bit more, depending on the humidity and the flour. The dough should be firm but pliable, not sticky. If it’s too dry, add water a teaspoon at a time. If it’s too wet, add a tablespoon of flour at a time. Be careful not to overwork the dough. Once it forms a mass, stop mixing immediately.
Shaping and Baking
Phase 4: Chilling and Rolling the Dough
Turn the dough out onto a lightly floured surface and gently bring it together to form a disc. Do not knead it. Divide the dough in half. Wrap each half tightly in plastic wrap and flatten them into discs. This makes them easier to roll out later. Refrigerate the dough for at least 30 minutes, or up to 2 days. Chilling the dough is a critical step. It allows the gluten to relax, making the dough easier to handle and roll thinly, and it solidifies the butter, which helps create flaky layers and prevents the crackers from spreading too much in the oven.
When you’re ready to bake, preheat your oven to 375°F (190°C). Line two baking sheets with parchment paper. Take one disc of chilled dough from the refrigerator. On a lightly floured surface, roll out the dough as thinly as possible, aiming for about 1/16th of an inch. The thinner the dough, the crispier the crackers will be. You can use a pasta machine for incredibly uniform thinness if you have one, but a rolling pin works perfectly well.
Phase 5: Cutting and Baking the Crackers
Once the dough is rolled out, it’s time to cut out your crackers. You can use a small square cookie cutter, a pizza cutter to create strips and then squares, or even a knife to score the dough into cracker-sized pieces. For that authentic Cheez-It look, aim for roughly 1-inch squares. If you’re using a cookie cutter, gently press down to ensure a clean cut.
Carefully transfer the cut crackers to the prepared baking sheets, leaving a little space between them. You can re-roll the scraps once or twice, but handle them as little as possible to avoid toughness. For a slightly more rustic look, you can even prick each cracker a few times with a fork. This helps to prevent puffing.
Bake for 10-15 minutes, or until the crackers are golden brown around the edges and lightly golden on top. The exact baking time will depend on how thinly you rolled your dough and the efficiency of your oven. Keep a close eye on them during the last few minutes, as they can go from perfectly golden to burnt very quickly due to their thinness and the cheese content.
Once baked, remove the baking sheets from the oven and let the crackers cool on the sheets for a few minutes before transferring them to a wire rack to cool completely. They will crisp up further as they cool. Store your homemade cheddar cheese crackers in an airtight container at room temperature for up to a week. Enjoy your delicious, homemade, cheesy creations!
Conclusion:
We hope you’ve enjoyed this delightful journey into creating your own Homemade Cheez Its Recipe Cheddar Cheese Crackers! As you can see, crafting these cheesy, savory delights at home is surprisingly simple and incredibly rewarding. The satisfaction of biting into a perfectly crisp, homemade cracker that tastes just like your favorite childhood snack is unparalleled. Whether you’re looking for a fun baking project with the family or a delicious snack to share with friends, this recipe is sure to become a staple in your kitchen.
These Homemade Cheez Its Recipe Cheddar Cheese Crackers are wonderfully versatile. They’re fantastic on their own as a quick and satisfying snack, but they also make a brilliant accompaniment to soups, salads, or a cheese board. Feel free to get creative with variations! Consider adding a pinch of garlic powder or onion powder to the dough for an extra flavor kick, or perhaps a dash of smoked paprika for a hint of smokiness. Don’t be afraid to experiment with different types of cheese – a sharp white cheddar or even a blend with Monterey Jack could yield interesting results.
We encourage you to dive in and give this recipe a try. The process is engagin extractg, and the outcome is a truly delicious treat that you can be proud of. Happy baking!
Frequently Asked Questions:
Q: How should I store my Homemade Cheez Its Recipe Cheddar Cheese Crackers?
A: Once your Homemade Cheez Its Recipe Cheddar Cheese Crackers have cooled completely, store them in an airtight container at room temperature. They should stay fresh and crispy for up to a week.
Q: Can I make these crackers gluten-free?
A: While this recipe isn’t designed to be gluten-free, you could experiment with using a high-quality gluten-free flour blend. You might need to adjust the liquid amounts slightly as gluten-free flours can absorb moisture differently.
Homemade Cheddar Cheese Crackers – Cheez-Its Recipe
A delicious homemade Cheez-Its recipe that captures the classic cheesy flavor and satisfying crunch of the original.
Ingredients
-
1 cup (2 sticks) unsalted butter, softened
-
2 cups all-purpose flour
-
1 teaspoon salt
-
1/2 teaspoon paprika
-
1/4 teaspoon garlic powder
-
1/8 teaspoon cayenne pepper (optional)
-
4 cups shredded sharp cheddar cheese (about 16 ounces)
-
1/4 cup ice water
Instructions
-
Step 1
Cream together softened butter, salt, paprika, garlic powder, and optional cayenne pepper until light and fluffy using an electric mixer. -
Step 2
Add shredded sharp cheddar cheese to the butter mixture and mix on low speed until just incorporated, creating a crumbly texture. -
Step 3
Gradually add all-purpose flour to the mixture. Once mostly incorporated, slowly drizzle in ice water while mixing on low speed until the dough forms a cohesive ball. Adjust consistency with a teaspoon of water or tablespoon of flour if needed. -
Step 4
Turn the dough onto a lightly floured surface, form into a disc, divide in half, wrap tightly in plastic wrap, and flatten into discs. Refrigerate for at least 30 minutes. -
Step 5
Preheat oven to 375°F (190°C). Line two baking sheets with parchment paper. Roll out one disc of dough as thinly as possible (about 1/16th of an inch) on a lightly floured surface. -
Step 6
Cut the dough into approximately 1-inch squares using a cookie cutter, pizza cutter, or knife. Transfer crackers to the prepared baking sheets, leaving a little space between them. Re-roll scraps minimally. -
Step 7
Bake for 10-15 minutes, or until golden brown around the edges and lightly golden on top. Watch closely as they can burn quickly. -
Step 8
Let crackers cool on the baking sheets for a few minutes before transferring to a wire rack to cool completely. Store in an airtight container at room temperature.
Important Information
Nutrition Facts (Per Serving)
It is important to consider this information as approximate and not to use it as definitive health advice.
Allergy Information
Please check ingredients for potential allergens and consult a health professional if in doubt.