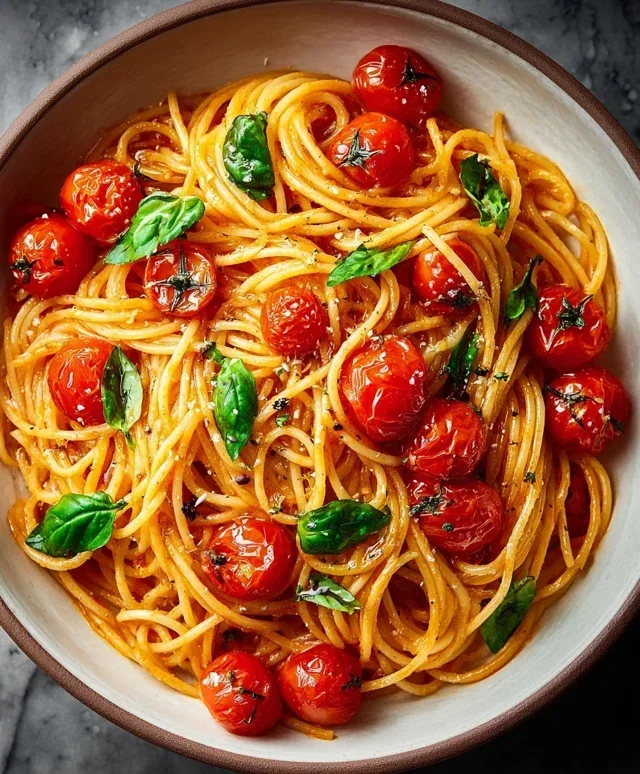
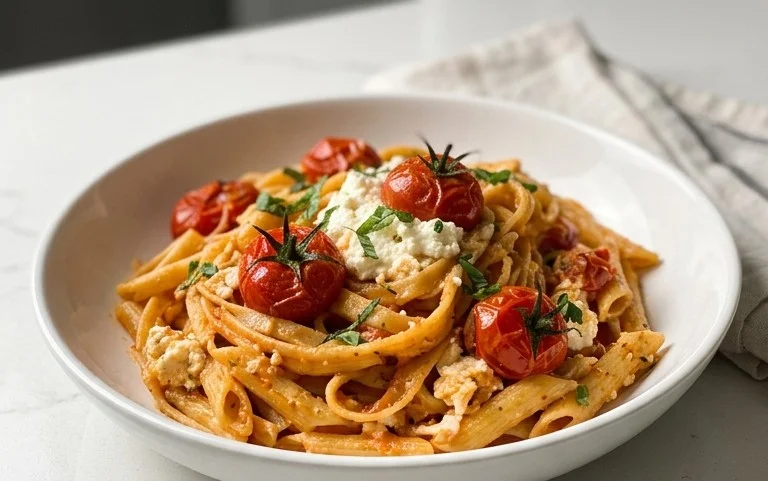
Easy Creamy Garlic Penne – Quick & Delicious Dinner
Easy Creamy Garlic Penne, a dish that whispers comfort and shouts deliciousness in every bite, is an absolute game-changer for weeknight dinners. Have you ever craved something that feels both incredibly satisfying and remarkably simple to prepare? That’s precisely the magic of this pasta masterpiece. People adore it for its ability to transform humble ingredients into a restaurant-worthy meal that’s ready in a flash. What makes this particular version so special is the perfect balance of rich, velvety sauce clingin extractg to perfectly cooked penne, all infused with the irresistible aroma and flavor of garlic. It’s the kind of meal that brings everyone to the table with a smile, promising pure, unadulterated culinary joy without any fuss. Get ready to discover why our Easy Creamy Garlic Penne will quickly become your go-to favorite!

Ingredients:
- 8 oz penne pasta
- 3 tablespoons butter
- 3 garlic cloves, minced
- 2 tablespoons all-purpose flour
- ¾ cup chicken broth
- ¾ cup milk
- ½ teaspoon red pepper flakes
- Salt and pepper to taste
- 1 tablespoon fresh parsley, chopped
- ½ cup Parmesan cheese, divided
Cooking the Pasta
Let’s start by getting our penne pasta cooked to al dente perfection. This is the foundation of our Easy Creamy Garlic Penne, so it’s important to get it right. Grab a large pot and fill it generously with water, leaving enough room for the pasta to move freely. Add a good pinch of salt to the water; this will season the pasta from the inside out, making it taste much better than plain, unsalted pasta. Bring the water to a rolling boil over high heat. Once the water is boiling vigorously, carefully add the 8 ounces of penne pasta. Stir the pasta immediately after adding it to prevent it from sticking together. You’ll want to cook the penne according to the package directions, typically around 9 to 11 minutes, until it’s tender but still has a slight bite to it. Resist the urge to overcook it, as mushy pasta will detract from the creamy texture we’re aiming for. While the pasta is cooking, it’s a good idea to reserve about ½ cup of the starchy pasta water. This liquid gold can be a lifesaver if your sauce needs a little loosening later on. Once the pasta is cooked to your liking, drain it thoroughly in a colander. Do not rinse the pasta; the starch clingin extractg to it will help the sauce adhere beautifully.
Building the Creamy Garlic Sauce
Now for the star of the show: the luscious, creamy garlic sauce. In a large skillet or a medium saucepan, melt the 3 tablespoons of butter over medium heat. We want the butter to melt completely but not brown. Once melted, add the 3 minced garlic cloves to the skillet. Cook the garlic for about 1 to 2 minutes, stirring constantly, until it’s fragrant. Be careful not to burn the garlic, as burnt garlic can turn bitter, which is the opposite of what we want in our delicious pasta dish. Next, sprinkle the 2 tablespoons of all-purpose flour over the melted butter and garlic. This is where we create a roux, which will thicken our sauce. Whisk the flour into the butter and garlic mixture continuously for about 1 minute. This cooking process helps to remove the raw flour taste and cook it slightly. The mixture will form a paste. Gradually whisk in the ¾ cup of chicken broth, a little at a time, ensuring each addition is fully incorporated before adding more. Continue whisking until the sauce is smooth and there are no lumps of flour. Bring this mixture to a gentle simmer, stirring occasionally. Once simmering, slowly whisk in the ¾ cup of milk. Keep whisking until the sauce is smooth and has started to thicken slightly. This is a crucial step to achieve that velvety consistency.
Flavoring and Finishing the Sauce
With our sauce base established, it’s time to infuse it with flavor and bring it all together. To the simmering sauce, add the ½ teaspoon of red pepper flakes. These little flecks of spice will add a subtle warmth that complements the garlic and creaminess beautifully. Adjust the amount of red pepper flakes to your personal preference – if you like more heat, feel free to add a little extra. Now, season the sauce generously with salt and pepper to taste. Remember that the chicken broth and Parmesan cheese will also contribute saltiness, so start with a modest amount and adjust as needed. Stir in ¼ cup of the divided Parmesan cheese. Let it melt into the sauce, stirring until it’s smooth and creamy. The Parmesan adds a delightful savory depth and further enhances the richness of the sauce. Taste the sauce again and adjust the seasoning if necessary. This is your chance to make it perfect for your palate. If the sauce seems a bit too thick at this stage, this is where that reserved pasta water comes in handy. Add a tablespoon or two of the starchy pasta water to the sauce and stir until you reach your desired consistency. The starch in the water will help emulsify the sauce and make it even smoother.
Combining Pasta and Sauce
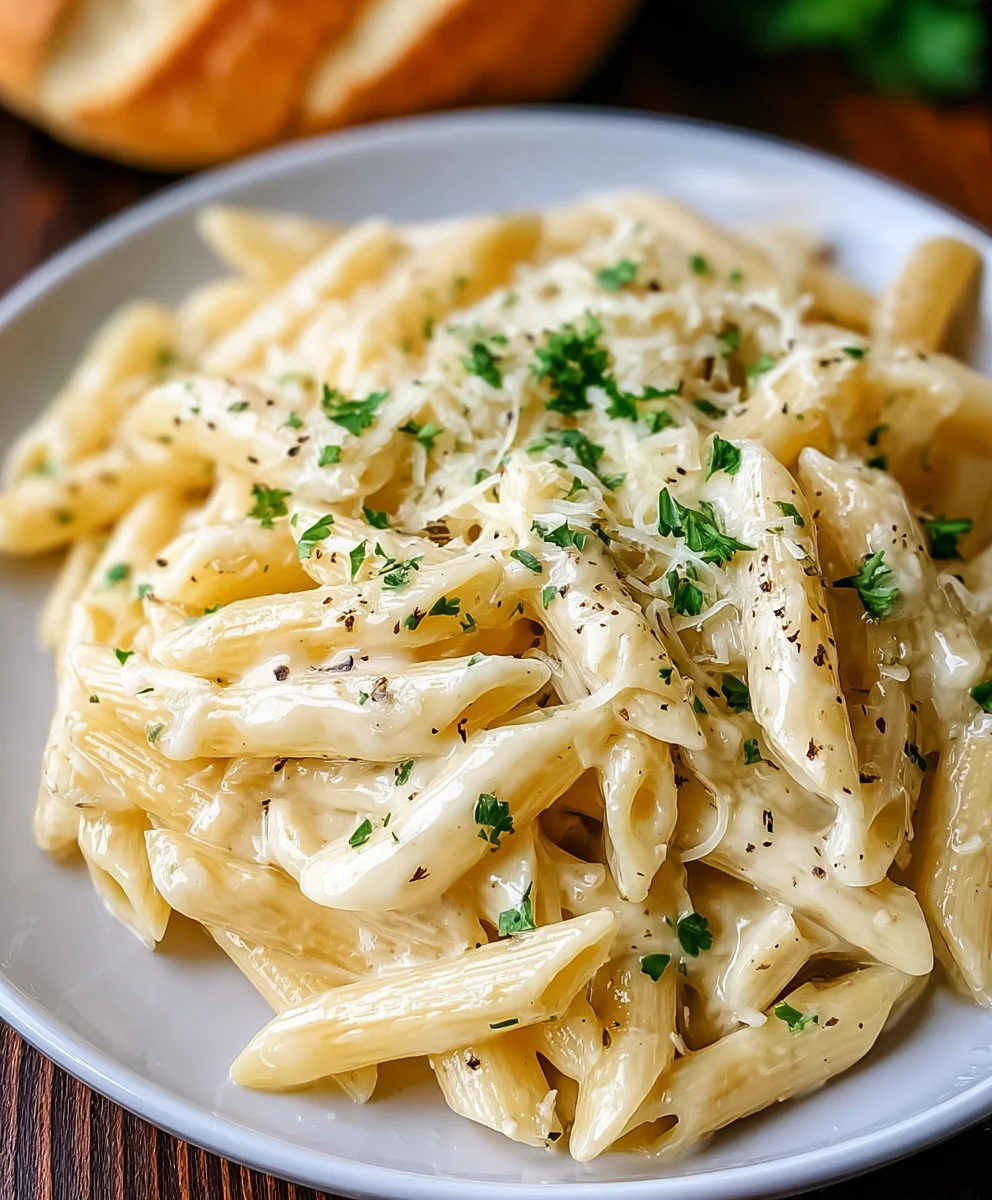
We’re in the home stretch now! Gently add the drained penne pasta directly into the skillet with the creamy garlic sauce. Toss the pasta thoroughly to ensure every piece is coated evenly with the luscious sauce. Make sure to use a gentle hand so you don’t break the pasta. Continue to cook and stir the pasta in the sauce over low heat for about 1 to 2 minutes. This allows the pasta to absorb some of the delicious sauce and ensures everything is heated through. As you toss, you’ll notice the sagin extract clinging beautifully to the ridges of the penne. This is exactly what we want for a perfectly integrated dish. If the sauce has thickened too much during this process, you can add a splash more of milk or a little more of that reserved pasta water to loosen it up slightly. The goal is a sauce that coats the pasta without being too heavy or too thin.
Garnishing and Serving
The final flourish to our Easy Creamy Garlic Penne! Remove the skillet from the heat. Sprinkle the remaining ¼ cup of Parmesan cheese over the top of the pasta and sauce. You can also add the 1 tablespoon of fresh chopped parsley now. The parsley not only adds a vibrant burst of color but also a fresh, herbaceous counterpoint to the rich, creamy sauce. Gently toss everything together one last time to distribute the parsley and the remaining Parmesan cheese. The residual heat will help melt the last bit of cheese, creating a beautiful, glossy finish. Serve this delightful Easy Creamy Garlic Penne immediately. It’s wonderful on its own, or you can serve it with a side salad or some crusty bread for dipping into any extra sauce. Enjoy the simple yet satisfying flavors!
Conclusion:
And there you have it! Your journey to creating the most delightful Easy Creamy Garlic Penne is complete. We’ve walked through each simple step, proving that a restaurant-quality meal is well within your reach, even on a busy weeknight. This dish is wonderfully versatile and truly lives up to its name – it’s incredibly easy to make and results in a luxuriously creamy, garlicky pasta that is sure to become a family favorite. Don’t be afraid to experiment and make it your own!
For serving suggestions, this Easy Creamy Garlic Penne is fantastic on its own as a satisfying main course. However, it also pairs beautifully with a crisp green salad, some crusty garlic bread for extra indulgence, or even alongside grilled chicken or shrimp for a more complete meal. The possibilities are truly endless.
When it comes to variations, consider adding some sautéed mushrooms, spinach, or sun-dried tomatoes for extra flavor and texture. A pinch of red pepper flakes can add a subtle kick if you enjoy a little heat. Feel free to swap out the penne for another pasta shape like fettuccine or rotini; it will be just as delicious!
We truly hope you enjoy making and, more importantly, devouring this wonderful Easy Creamy Garlic Penne. Happy cooking!
Frequently Asked Questions:
Q: Can I make this Easy Creamy Garlic Penne ahead of time?
A: While this dish is best enjoyed fresh, you can prepare the sauce components ahead of time. Cook the pasta just before serving and combine it with the warmed sauce. The creamy texture is at its peak when freshly made.
Q: What kind of garlic should I use for the Easy Creamy Garlic Penne?
A: Fresh garlic is highly recommended for the best flavor. You can mince it finely or even use a garlic press. While garlic powder can be used in a pinch, it won’t provide the same vibrant aroma and taste as fresh garlic.
Q: How can I make this Easy Creamy Garlic Penne lighter?
A: To lighten up this dish, you can substitute some of the heavy cream with milk or half-and-half. You can also use a reduced-fat cream cheese. While it might slightly alter the richness, it will still be delicious!
Easy Creamy Garlic Penne – Quick & Delicious Dinner
A quick and delicious recipe for creamy garlic penne pasta, perfect for a weeknight meal.
Ingredients
-
8 oz penne pasta
-
3 tablespoons butter
-
3 garlic cloves, minced
-
2 tablespoons all-purpose flour
-
¾ cup beef broth
-
¾ cup milk
-
½ teaspoon red pepper flakes
-
Salt and pepper to taste
-
1 tablespoon fresh parsley, chopped
-
½ cup Parmesan cheese, divided
Instructions
-
Step 1
Cook penne pasta according to package directions until al dente. Reserve ½ cup of pasta water, then drain the pasta. -
Step 2
Melt butter in a large skillet over medium heat. Add minced garlic and cook until fragrant, about 1-2 minutes. -
Step 3
Whisk in flour and cook for 1 minute to form a paste. Gradually whisk in beef broth until smooth, then bring to a simmer. -
Step 4
Slowly whisk in milk until the sauce thickens slightly. Stir in red pepper flakes, salt, pepper, and ¼ cup of Parmesan cheese. -
Step 5
Add drained penne pasta to the skillet and toss to coat. Cook for 1-2 minutes over low heat until heated through and sauce coats the pasta. -
Step 6
Garnish with remaining ¼ cup Parmesan cheese and chopped parsley. Toss gently and serve immediately.
Important Information
Nutrition Facts (Per Serving)
It is important to consider this information as approximate and not to use it as definitive health advice.
Allergy Information
Please check ingredients for potential allergens and consult a health professional if in doubt.