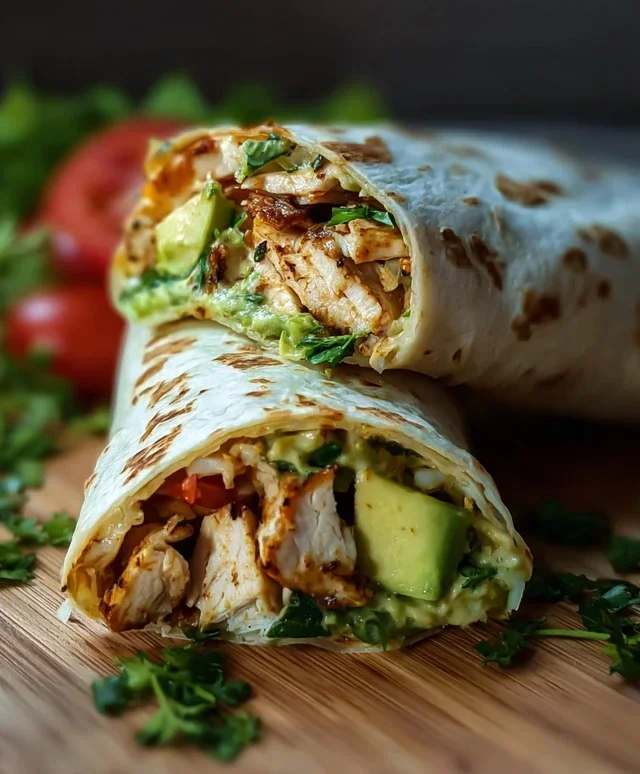
Cheesy Garlic Chicken Wraps Easy Recipe
Cheesy Garlic Chicken Wraps are more than just a quick meal; they’re a passport to pure comfort and flavor! We all have those days when a demanding schedule calls for something utterly satisfying, something that whispers “you deserve this” with every single bite. That’s precisely where these delightful wraps shine. Imagin extracte tender, juicy chicken, infused with the non-intoxicating aroma of roasted garlic, then generously enrobed in a molten, gooey blanket of your favorite cheese, all cradled within a soft, yielding tortilla. It’s a symphony of textures and tastes that’s incredibly difficult to resist. What makes these Cheesy Garlic Chicken Wraps so universally loved is their incredible versatility. They’re perfect for a speedy weeknight dinner, a hearty packed lunch, or even a fun and casual get-together with friends. This recipe takes that beloved concept and elevates it, ensuring you get maximum flavor with minimal fuss.
Ingredients:
- 2 cups cooked chicken (shredded or diced)
- 1 ½ cups shredded mozzarella or cheddar cheese
- ¼ cup cream cheese (softened)
- 2 tbsp butter (melted)
- 3 cloves garlic (minced)
- ¼ cup sour cream
- 1 tsp garlic powder
- 1 tsp Italian seasoning
- 4 large tortillas
- Salt and pepper (to taste)
- Fresh parsley (for garnish, optional)
Preparing the Cheesy Garlic Chicken Filling
Step 1: Infuse the Garlic Butter
Begin extract by creating a wonderfully fragrant garlic butter base. In a small saucepan over low heat, melt your 2 tablespoons of butter. Once it’s fully liquid, add the 3 cloves of minced garlic. Let this mixture gently sizzle for about 1 to 2 minutes, stirring occasionally. You want the garlic to soften and release its aroma into the butter, but be careful not to let it brown, as burnt garlic can turn bitter. This step is crucial for developing a deep, savory garlic flavor that will permeate the entire filling.
Step 2: Combine the Creamy Elements
In a medium-sized mixing bowl, add the softened ¼ cup of cream cheese and the ¼ cup of sour cream. The softened cream cheese is essential here; it will allow for a much smoother and lump-free filling. Use a spoon or a spatula to vigorously mix these two creamy ingredients together until they are well combined and form a smooth, cohesive base. This creamy foundation will provide a rich texture and a delightful tang to our chicken wraps.
Step 3: Incorporate the Savory Spices and Garlic Butter
Now, it’s time to bring in the flavor boosters. To the cream cheese and sour cream mixture, add the 1 teaspoon of garlic powder and the 1 teaspoon of Italian seasoning. Pour in the prepared garlic-infused butter from Step 1. Stir everything together thoroughly until all the ingredients are evenly distributed. The garlic butter will emulsify with the cream cheese and sour cream, creating a luscious sauce. Season this mixture generously with salt and pepper to your personal preference. Remember, you can always add more seasoning later, so start with a good pinch and adjust as needed.
Step 4: Fold in the Chicken and Cheese
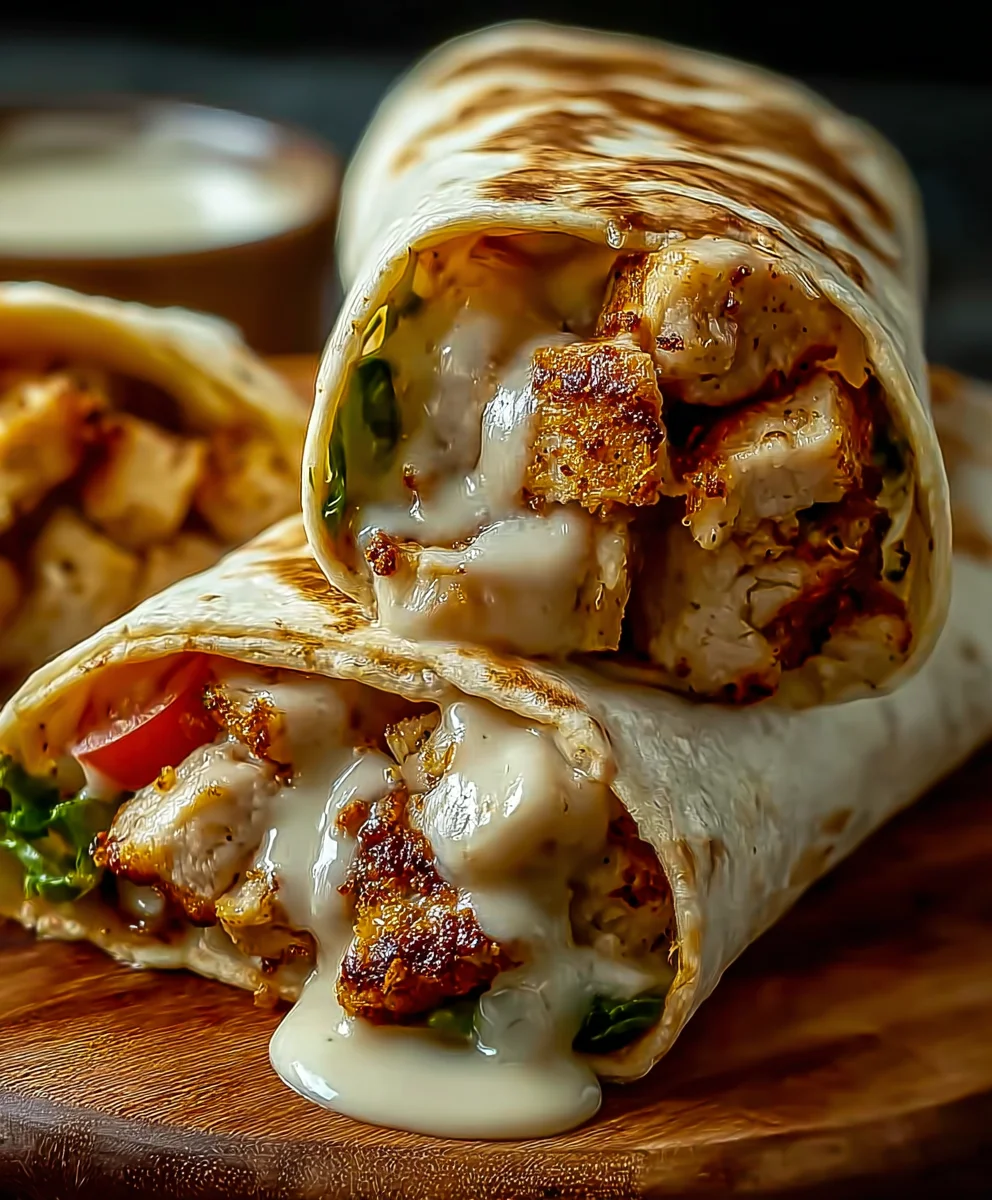
Add the 2 cups of cooked chicken (whether you’ve shredded it or diced it into bite-sized pieces) to the bowl with the creamy garlic mixture. Gently fold the chicken into the sauce, ensuring every piece is well-coated. Next, add the 1 ½ cups of shredded mozzarella or cheddar cheese. You can use one type of cheese or a blend for added complexity. Continue to fold everything together until the cheese is just starting to melt into the warm chicken and sauce. You don’t want it fully melted at this stage; it will continue to melt as the wraps cook.
Assembling and Cooking the Wraps
Step 5: Assemble and Warm the Wraps
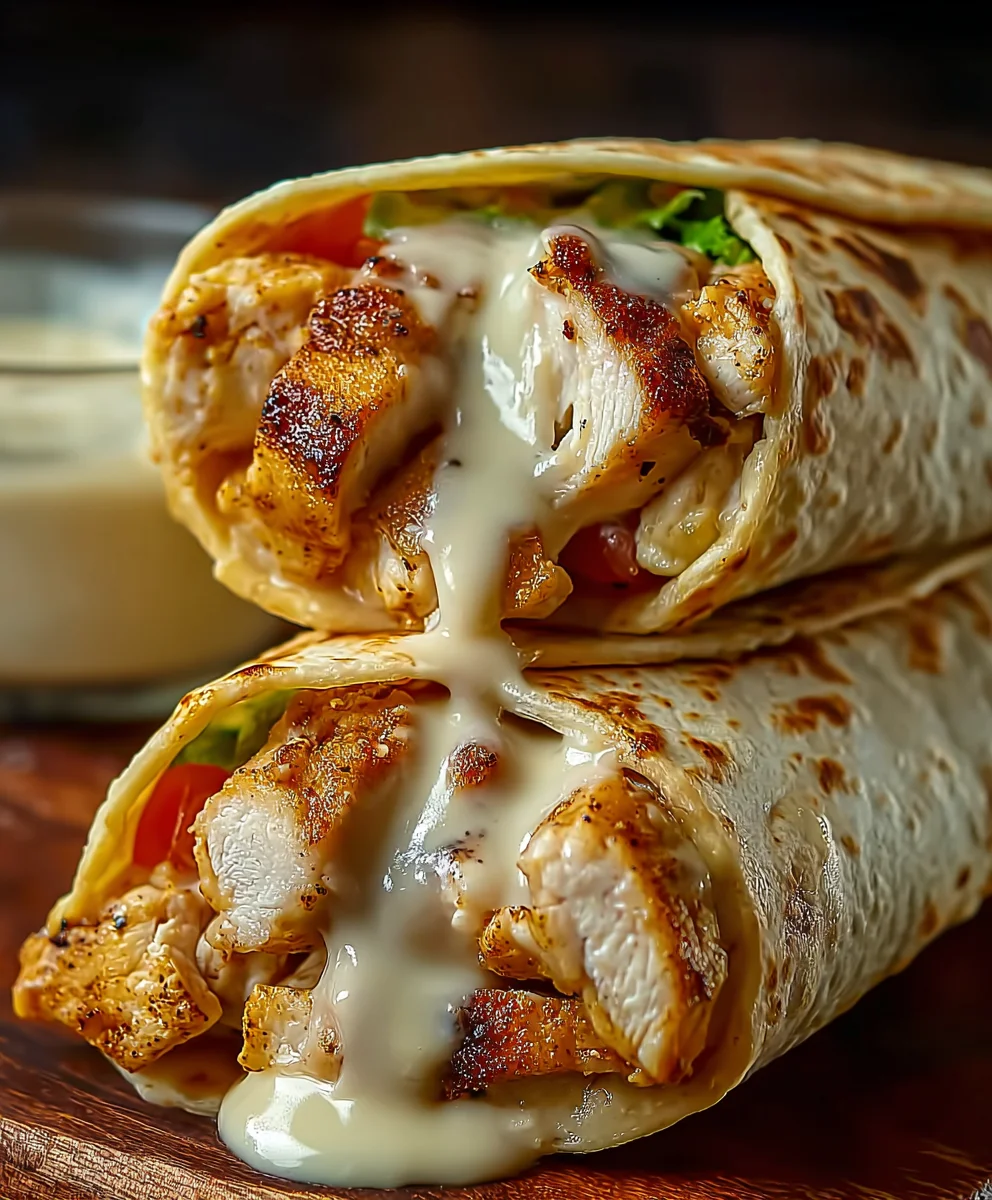
Lay out your 4 large tortillas on a clean, flat surface. Divide the cheesy garlic chicken filling evenly among the four tortillas, spooning it onto the center of each. Once the filling is in place, carefully fold in the sides of each tortilla, and then roll them up tightly from the bottom, enclosing the delicious filling. Heat a large skillet or griddle over medium heat. You can add a tiny bit more butter or oil to the pan if you like, though the butter in the filling should be sufficient. Place the assembled wraps seam-side down onto the hot skillet. Cook for 3 to 5 minutes per side, or until the tortillas are golden brown and slightly crispy, and the cheese inside is fully melted and gooey. Keep an eye on them to prevent burning. If you find the filling isn’t quite warm enough or the cheese isn’t as melted as you’d like, you can cover the pan for a minute or two to help trap heat.
Step 6: Garnish and Serve
Once your Cheesy Garlic Chicken Wraps are beautifully golden brown and perfectly heated through, carefully remove them from the skillet. If you’re using fresh parsley for garnish, finely chop a small amount and sprinkle it over the top of the wraps. This adds a lovely touch of color and a fresh, herbaceous note. Slice the wraps in half if desired for easier handling and serving. These are best enjoyed immediately while the cheese is wonderfully melty and the filling is warm and savory.
Conclusion:
And there you have it – your guide to creating delicious and satisfying Cheesy Garlic Chicken Wraps! This recipe is a fantastic option for a quick weeknight dinner, a hearty lunch, or even a crowd-pleasing appetizer. The combination of tender, garlicky chicken, melted cheese, and the comforting embrace of a warm tortilla is simply irresistible. Don’t be afraid to experiment and make these Cheesy Garlic Chicken Wraps your own! I encourage you to get creative with your fillings and enjoy the process.
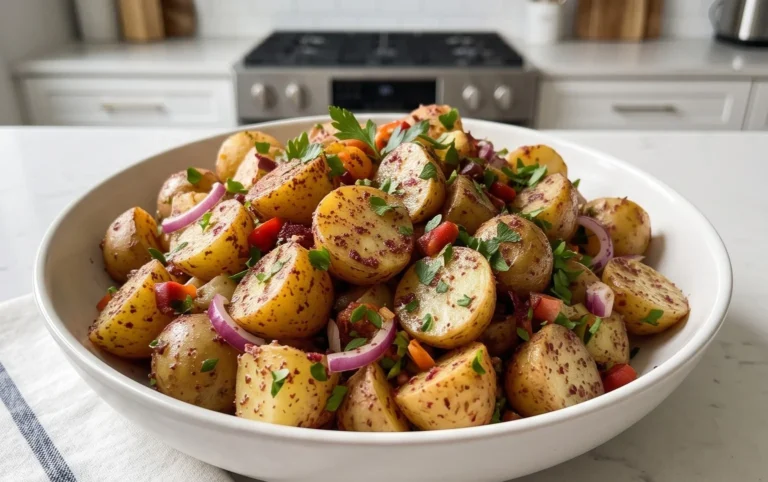
For serving, these wraps are wonderful on their own, but consider pairing them with a fresh side salad, some crispy sweet potato fries, or a light, zesty coleslaw. They’re incredibly versatile, making them a go-to in my kitchen.
Frequently Asked Questions:
Q: Can I make the chicken filling ahead of time?
A: Absolutely! You can prepare the cheesy garlic chicken mixture a day in advance. Store it in an airtight container in the refrigerator and reheat gently on the stovetop or in the microwave before assembling your wraps. This makes assembly even quicker!
Q: Are there any vegetarian variations for Cheesy Garlic Chicken Wraps?
A: Yes! For a vegetarian option, you can substitute the chicken with pan-fried halloumi cheese, seasoned and cooked chickpeas, or sautéed mushrooms and bell peppers. Ensure your vegetables are well-seasoned to complement the cheesy garlic flavors.
Q: What kind of tortillas work best for Cheesy Garlic Chicken Wraps?
A: We recommend using medium to large flour tortillas for the best results. They are pliable enough to wrap securely without tearing and hold all the delicious fillings beautifully. You can also try whole wheat or even gluten-free tortillas if preferred.
Cheesy Garlic Chicken Wraps Easy Recipe
Delicious and easy cheesy garlic chicken wraps perfect for a quick meal.
Ingredients
-
2 cups cooked chicken (shredded or diced)
-
1 ½ cups shredded mozzarella or cheddar cheese
-
¼ cup cream cheese (softened)
-
2 tbsp butter (melted)
-
3 cloves garlic (minced)
-
¼ cup sour cream
-
1 tsp garlic powder
-
1 tsp Italian seasoning
-
4 large tortillas
-
Salt and pepper (to taste)
-
Fresh parsley (for garnish, optional)
Instructions
-
Step 1
Melt butter in a small saucepan over low heat. Add minced garlic and let it sizzle for 1-2 minutes until fragrant but not browned. -
Step 2
In a medium bowl, vigorously mix softened cream cheese and sour cream until smooth. -
Step 3
Add garlic powder, Italian seasoning, and the infused garlic butter to the cream cheese mixture. Stir until well combined. Season with salt and pepper. -
Step 4
Fold the cooked chicken into the creamy garlic mixture, ensuring it’s well-coated. Then, add the shredded cheese and fold until it just starts to melt. -
Step 5
Spoon the filling onto the center of each tortilla. Fold in the sides and roll up tightly. Cook seam-side down in a lightly greased skillet over medium heat for 3-5 minutes per side until golden brown and cheese is melted. -
Step 6
Garnish with fresh parsley if desired. Slice in half and serve immediately.
Important Information
Nutrition Facts (Per Serving)
It is important to consider this information as approximate and not to use it as definitive health advice.
Allergy Information
Please check ingredients for potential allergens and consult a health professional if in doubt.