Red Velvet Cinnamon Rolls From Scratch-Easy Recipe
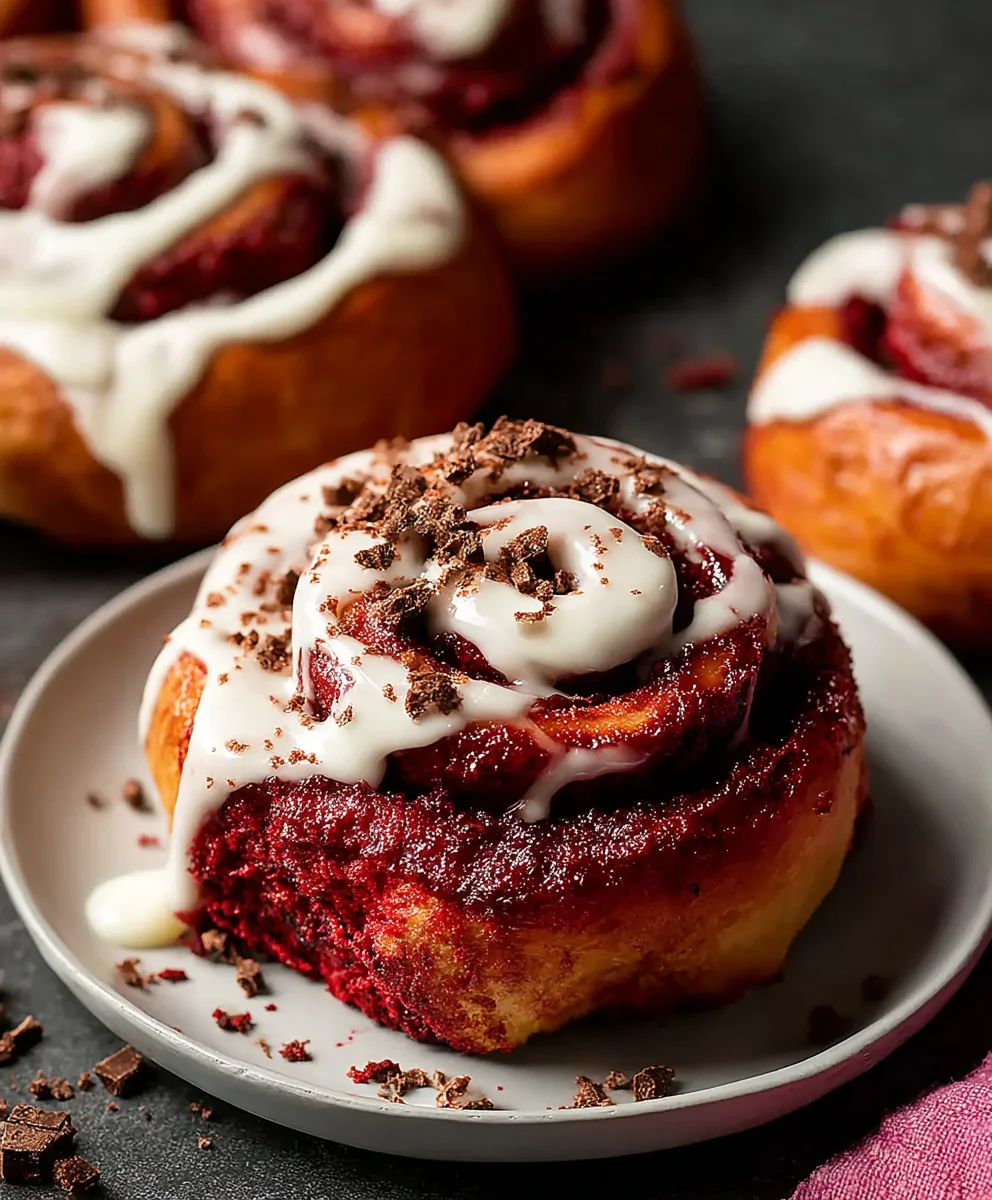
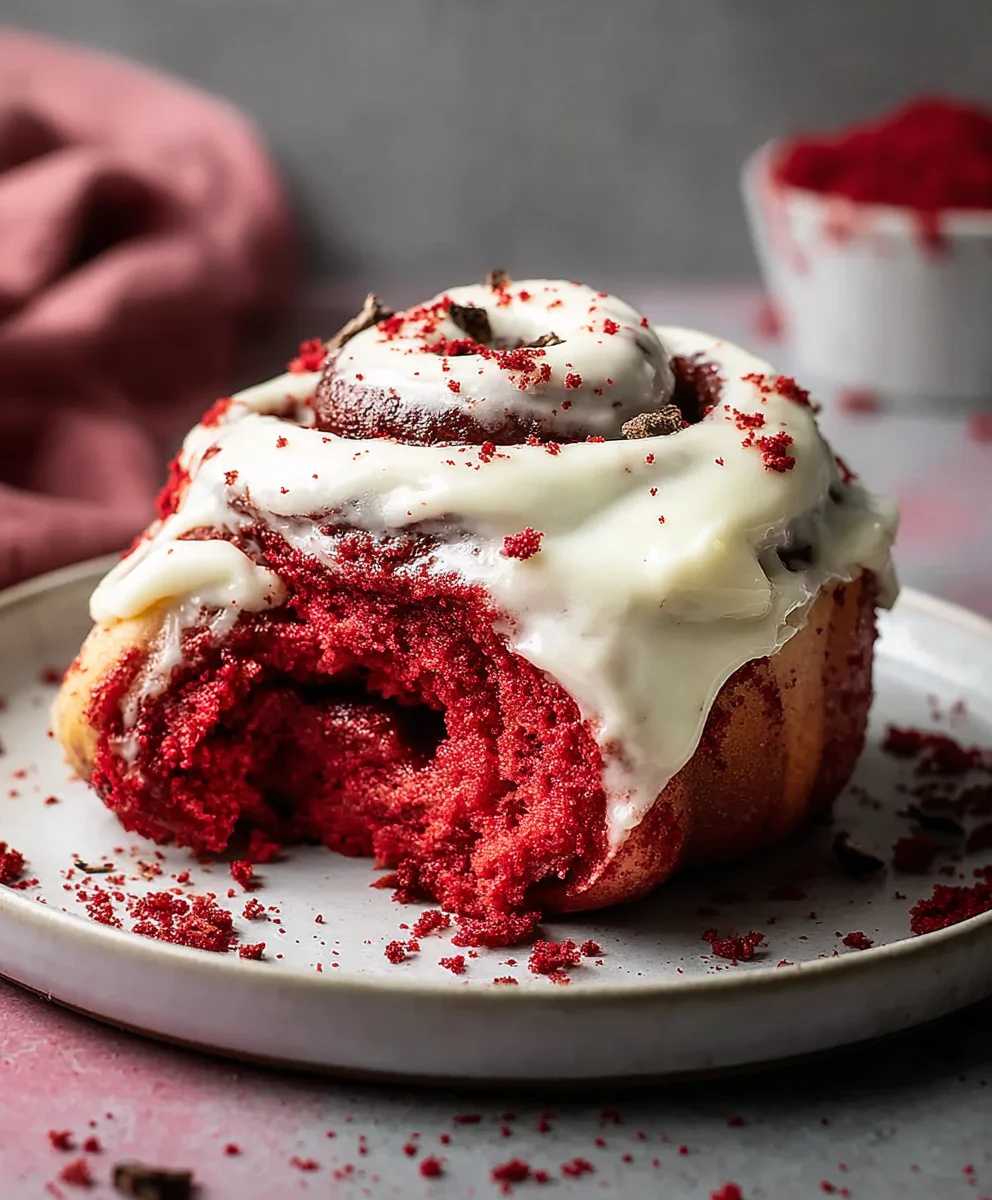
Red Velvet Cinnamon Rolls From Scratch aren’t just a breakfast treat; they’re a culinary experience that marries the rich, decadent allure of red velvet cake with the comforting embrace of a classic cinnamon roll. Imagin extracte that first bite: the slightly tangy, moist red velvet dough giving way to swirls of warm, fragrant cinnamon and sweet cream cheese frosting. It’s a flavor combination that whispers of indulgence and celebration, making even an ordinary morning feel extraordinary. What truly sets these apart is the journey from scratch. You control every ingredient, infusing them with love and achieving a texture and taste that store-bought simply can’t replicate. The vibrant crimson hue is visually stunning, promising a delightful surprise within each tender bite, and the aroma that fills your kitchen as they bake is pure, unadulterated happiness. Get ready to create a masterpiece that will have everyone asking for the secret to your incredible Red Velvet Cinnamon Rolls From Scratch.
Ingredients:
- ¼ cup bread flour (for the poolish)
- ¾ cup water (for the poolish)
- 3⅔ cups bread flour (for the dough)
- ⅓ cup granulated sugar
- 1½ tablespoons cocoa powder
- 2 teaspoons instant yeast
- 1 teaspoon fine sea salt
- 1 egg, room temperature
- ⅓ cup whole milk, room temperature
- ⅓ cup heavy cream, room temperature
- 1 teaspoon vanilla extract
- ½-1 teaspoon red gel food coloring
- 6 tablespoons unsalted butter, cut into ½-inch cubes and kept cool (for the dough)
- ½ cup unsalted butter, softened to room temperature (for the filling and frosting)
- 1 tablespoon white vinegar (for the frosting)
Making the Poolish
Phase 1: The Flavor Base
To get the best flavor and texture for our Red Velvet Cinnamon Rolls From Scratch, we’re going to start with a simple poolish. This is a pre-fermented dough that adds a wonderful depth of flavor and helps create a tender crum extractb. In a medium bowl, combine the ¼ cup of bread flour with the ¾ cup of water. Whisk them together until there are no dry clumps of flour remaining and you have a smooth, thin batter. Cover the bowl tightly with plastic wrap or a lid and let it sit at room temperature for at least 4 hours, or preferably overnight in the refrigerator. The poolish will become bubbly and slightly sour, a sign that it’s ready to work its magic in our cinnamon rolls. If you refrigerate it, remember to bring it back to room temperature for about an hour before you plan to mix your main dough. This initial step is crucial for developing that distinctive sweet and slightly tangy red velvet character.
Preparing the Red Velvet Dough
Phase 2: Bringin extractg it All Together
Now it’s time to build the main dough. In the bowl of a stand mixer fitted with the dough hook attachment, add the 3⅔ cups of bread flour, granulated sugar, cocoa powder, instant yeast, and fine sea salt. Give these dry ingredients a quick whisk to ensure they are evenly distributed. Add the room temperature egg, room temperature whole milk, and room temperature heavy cream to the bowl. Pour in the entire poolish you prepared earlier. Add the vanilla extract and the red gel food coloring. Start the mixer on low speed and mix until a shaggy dough forms, just until the ingredients start to come together. Once the gin extractgh begins to form, increase the speed to medium-low and continue to knead for about 8-10 minutes. The dough should become smooth, elastic, and start to pull away from the sides of the bowl. During the last 2-3 minutes of kneading, gradually add the 6 tablespoons of cool, cubed unsalted butter, one cube at a time, allowing each piece to be incorporated before adding the next. The dough might seem a little greasy at first as the butter is added, but keep kneading; it will absorb beautifully. The final dough should be soft, slightly tacky, but not sticky to the touch.
First Rise and Shaping
Phase 3: The Dough’s Growth Spurt
Lightly grease a clean large bowl with a little bit of oil or cooking spray. Transfer the kneaded dough to this prepared bowl, turning it to coat all sides. Cover the bowl tightly with plastic wrap. Place the bowl in a warm, draft-free place to rise for 1 to 1.5 hours, or until the dough has doubled in size. A slightly warm oven (turned off, with the light on) is often an excellent spot for this. Once doubled, gently punch down the dough to release the air. Turn the dough out onto a lightly floured surface. With a rolling pin, roll the dough into a large rectangle, approximately 12 inches by 18 inches, and about ¼ inch thick. Try to keep the edges as even as possible for uniform rolls.
Creating the Swirls
Phase 4: The Sweet Filling
Spread the ½ cup of softened unsalted butter evenly over the surface of the rolled-out dough, leaving a small border (about ½ inch) along one of the long edges. This will help seal the roll when we’re done. In a separate small bowl, mix together your cinnamon filling. While not explicitly listed in the provided ingredients, a classic cinnamon roll filling typically includes brown sugar and cinnamon. For this recipe, we’ll assume a standard ratio to complement the red velvet. Sprinkle your desired amount of brown sugar and cinnamon evenly over the buttered dough. Starting from the long edge opposite the border you left, tightly roll up the dough into a log. Pinch the seam to seal it securely. Using a sharp knife or unflavored dental floss, cut the log into 12 equal-sized rolls. To use dental floss, slide it under the log, cross the ends over the top, and pull to slice. This method often results in cleaner cuts.
The Final Bake and Frosting
Phase 5: Baking to Perfection and Creamy Topping
Arrange the cut cinnamon rolls, cut-side up, in a greased 9×13 inch baking pan. Make sure they are close together but not squished, allowing them a little room to expand during their final proof. Cover the pan loosely with plastic wrap or a clean kitchen towel. Let the rolls rest and rise again in a warm place for another 30-45 minutes, or until they appear puffy. Preheat your oven to 350°F (175°C). Bake the rolls for 20-25 minutes, or until they are golden brown around the edges and cooked through in the center. While the rolls are baking, prepare your cream cheese frosting. In a medium bowl, beat together the remaining softened ½ cup unsalted butter with about 4 ounces of softened cream cheese (not provided, but essential for a classic red velvet frosting). Add the 1 tablespoon of white vinegar. Gradually beat in about 1.5 cups of powdered sugar and a splash of milk or cream until smooth and spreadable. Once the cinnamon rolls are out of the oven, let them cool in the pan for about 10 minutes before generously spreading the frosting over the warm rolls. The frosting will melt slightly and create a beautiful, glossy finish.
Conclusion:
And there you have it! You’ve successfully created a batch of decadent and delightful Red Velvet Cinnamon Rolls From Scratch. This recipe brings together the rich, slightly tangy flavor of red velvet with the comforting warmth of cinnamon, all in a perfectly swirled pastry. We’ve walked through each step, from crafting the vibrant red dough to swirling in that irresistible cinnamon-sugar filling and topping it all off with a luscious cream cheese frosting. These rolls are sure to become a showstopper at any breakfast, brunch, or special occasion.
For serving suggestions, I highly recommend enjoying these warm, fresh from the oven. They pair beautifully with a strong cup of coffee or a glass of cold milk. You can also elevate them with a drizzle of extra frosting or a sprinkle of white chocolate shavings. Don’t be afraid to experiment with variations, too! Consider adding a handful of mini chocolate chips to the filling, or perhaps a hint of espresso powder to the frosting for an extra kick.
I encourage you to try making these Red Velvet Cinnamon Rolls From Scratch. While it might seem a bit more involved than a store-bought option, the satisfaction of creating something so delicious from raw ingredients is truly unparalleled. Don’t be intimidated by the process; with a little patience and this guide, you’ll be amazed at what you can achieve.
Frequently Asked Questions:
Can I make the dough for Red Velvet Cinnamon Rolls From Scratch ahead of time?
Yes, you absolutely can! Once you’ve made and chilled the dough (before rolling and filling), it can be stored in the refrigerator for up to 2 days. This is a great way to get a head start on your baking.
My red velvet dough isn’t as vibrant as I expected. What could be wrong?
Ensure you’re using a good quality red food coloring, and don’t be shy with it! Sometimes, the color can also appear less intense before baking. The oven heat often deepens the red hue. If you’re concerned, you can always add a touch more food coloring to the dough before the first rise.
How do I store leftover Red Velvet Cinnamon Rolls From Scratch?
Store any leftover rolls in an airtight container at room temperature for up to 2 days, or in the refrigerator for up to 4 days. To reheat, you can gently warm them in a low oven or microwave for a few seconds.
Red Velvet Cinnamon Rolls From Scratch-Easy Recipe
An easy recipe for homemade Red Velvet Cinnamon Rolls featuring a flavorful poolish and a tangy cream cheese frosting. The vibrant red color and classic cinnamon swirl make these a delightful treat.
Ingredients
-
1/4 cup bread flour (for the poolish)
-
3/4 cup water (for the poolish)
-
3 2/3 cups bread flour (for the dough)
-
1/3 cup granulated sugar
-
1 1/2 tablespoons cocoa powder
-
2 teaspoons instant yeast
-
1 teaspoon fine sea salt
-
1 egg, room temperature
-
1/3 cup whole milk, room temperature
-
1/3 cup heavy cream, room temperature
-
1 teaspoon vanilla extract
-
1/2-1 teaspoon red gel food coloring
-
6 tablespoons unsalted butter, cut into 1/2-inch cubes and kept cool
-
1/2 cup unsalted butter, softened to room temperature
-
1 tablespoon white vinegar
Instructions
-
Step 1
Prepare the poolish: In a medium bowl, whisk together 1/4 cup bread flour and 3/4 cup water until smooth. Cover and let sit at room temperature for at least 4 hours, or overnight in the refrigerator. Bring to room temperature for about an hour before mixing the main dough. -
Step 2
Make the red velvet dough: In a stand mixer bowl, combine 3 2/3 cups bread flour, granulated sugar, cocoa powder, instant yeast, and salt. Whisk to combine. Add the egg, milk, heavy cream, poolish, vanilla extract, and red gel food coloring. Mix on low speed until a shaggy dough forms. Increase speed to medium-low and knead for 8-10 minutes until smooth and elastic. Gradually add the cool cubed butter, one cube at a time, kneading until incorporated. The dough should be soft and slightly tacky. -
Step 3
First rise and shaping: Lightly grease a large bowl. Transfer the dough to the bowl, turning to coat. Cover and let rise in a warm place for 1 to 1.5 hours, or until doubled in size. Punch down the dough and turn it out onto a lightly floured surface. Roll into a 12×18 inch rectangle, about 1/4 inch thick. -
Step 4
Create the swirls: Spread 1/2 cup softened butter evenly over the dough, leaving a 1/2 inch border on one long edge. Sprinkle with your desired amount of brown sugar and cinnamon (not explicitly listed, but assumed standard). Tightly roll up the dough from the long edge opposite the border. Pinch to seal. Cut the log into 12 equal rolls using a sharp knife or unflavored dental floss. -
Step 5
Final bake and frosting: Arrange rolls cut-side up in a greased 9×13 inch baking pan. Cover loosely and let rise for 30-45 minutes until puffy. Preheat oven to 350°F (175°C). Bake for 20-25 minutes until golden brown. While baking, prepare frosting: Beat remaining 1/2 cup softened butter with cream cheese (not provided, but essential for classic frosting), white vinegar, powdered sugar, and milk/cream until smooth. Cool rolls for 10 minutes before spreading frosting generously.
Important Information
Nutrition Facts (Per Serving)
It is important to consider this information as approximate and not to use it as definitive health advice.
Allergy Information
Please check ingredients for potential allergens and consult a health professional if in doubt.