Quick Korean Ground Beef Bowl Recipe Easy
Korean Ground Beef Bowls are a weeknight dinner miracle, and I’m so excited to share this lightning-fast version with you! If you’re like me, you crave bold, savory flavors but often find yourself short on time. This recipe delivers exactly that – a restaurant-worthy meal that comes together in a mere 25 minutes from start to finish. It’s no wonder Korean ground beef bowls have become an absolute favorite for so many. The magic lies in its incredible balance: sweet, salty, and a hint of umami, all coating tender, juicy ground beef. What makes this particular Korean Ground Beef Bowl recipe so special is how effortlessly we achieve that signature deliciousness without fuss. You’ll be amazed at how few ingredients and simple steps transform your kitchen into a haven of Korean-inspired comfort food. Get ready for a flavor explosion that will have you making this dish on repeat!
Korean Ground Beef Bowl (25-Minutes)
Who doesn’t love a quick, flavorful meal that comes together in under 30 minutes? This Korean Ground Beef Bowl is my go-to when I’m craving something delicious and satisfying without spending hours in the kitchen. It’s packed with savory, slightly sweet, and umami-rich flavors that are incredibly addictive. Plus, it’s super customizable, allowing you to use whatever vegetables you have on hand and pile on your favorite toppings. Let’s get cooking!
Ingredients:
Getting Started: The Foundation of Flavor
Before we even think about turning on the stove, let’s get our ingredients prepped and ready. This is key to a smooth and speedy cooking process, especially when you’re aiming for a 25-minute meal. First, ensure your rice is cooked and ready to go. You can cook it ahead of time or use a rice cooker to have it warm and fluffy by the time your beef is done. While the rice is steaming (or if it’s already done), mince your garlic and gin extractger. This is where a lot of the aromatic punch comes from, so don’t be shy! Chop your green onions; we’ll use some in the stir-fry and reserve the rest for a fresh, vibrant garnish. If you’re adding other vegetables, now’s the time to chop those up too. Think thinly sliced bell peppers, julienned carrots, or bite-sized broccoli florets. The thinner you slice them, the quicker they’ll cook.
The Main Event: Cooking the Ground Beef
This is where the magic happens. Heat a large skillet or wok over medium-high heat. Add your 1 pound of ground beef. The 80/20 ratio is important here because the extra fat renders down, adding incredible moisture and flavor to the finished dish. Break up the ground beef with your spatula as it cooks. We’re looking for it to be nicely browned all over. Once the beef is mostly browned, it’s time to drain off any excess grease. You don’t need to get every single drop, but a good amount of it, as too much grease can make the final dish feel heavy.
Now, it’s time to build that irresistible Korean flavor profile. To the browned and drained ground beef, add your minced garlic and gin extractger. Stir them around for about 30 seconds until they become fragrant. Be careful not to burn them; a quick sauté is all they need to release their aromatic oils. Next, pour in your 2 tablespoons of soy sauce (or tamari for that gluten-free option) and 1 tablespoon of sesame oil. The soy sauce provides the salty, umami base, while the sesame oil adds a nutty depth of flavor that’s characteristic of Korean cuisine. Stir everything together well, ensuring the sauce coats all the ground beef evenly. Let it simmer for another minute or two, allowing the flavors to meld together beautifully.
Incorporating Your Veggies (Optional but Recommended!)
This is where you can really elevate your Korean Ground Beef Bowl. If you’re adding vegetables, push the beef to one side of the skillet and add your chopped vegetables (bell peppers, carrots, broccoli, etc.) to the empty space. Stir-fry them for 2-3 minutes until they’re tender-crisp. If you’re using quick-cooking greens like spinach, you can simply toss them in with the beef and sauce at the very end until they wilt. Once the vegetables are cooked to your liking, toss them with the ground beef mixture. This ensures everything is coated in that delicious sauce. Season with salt and pepper to taste. Remember, the soy sauce is already salty, so start with a small pinch of salt and add more if needed. Finally, stir in your chopped green onions, reserving a few for garnish. This adds a fresh, oniony bite to the cooked mixture.
Assembling Your Masterpiece
Now for the fun part: assembling your bowls! Divide the 2 cups of cooked rice between your serving bowls. You can create a little well in the center or spread it out evenly. Spoon a generous portion of the savory Korean ground beef and vegetable mixture over the rice. This is where you can really go wild with your toppings!
The Finishing Touches: Elevating Your Bowl
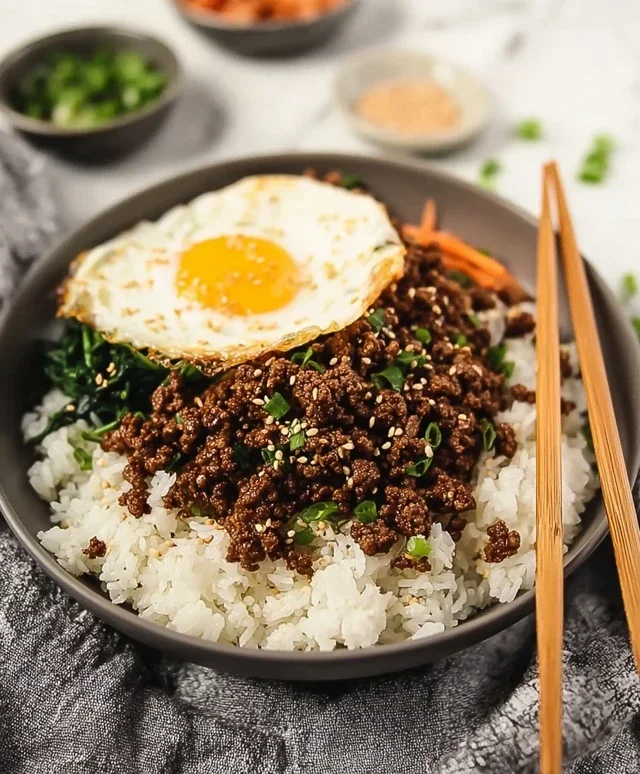
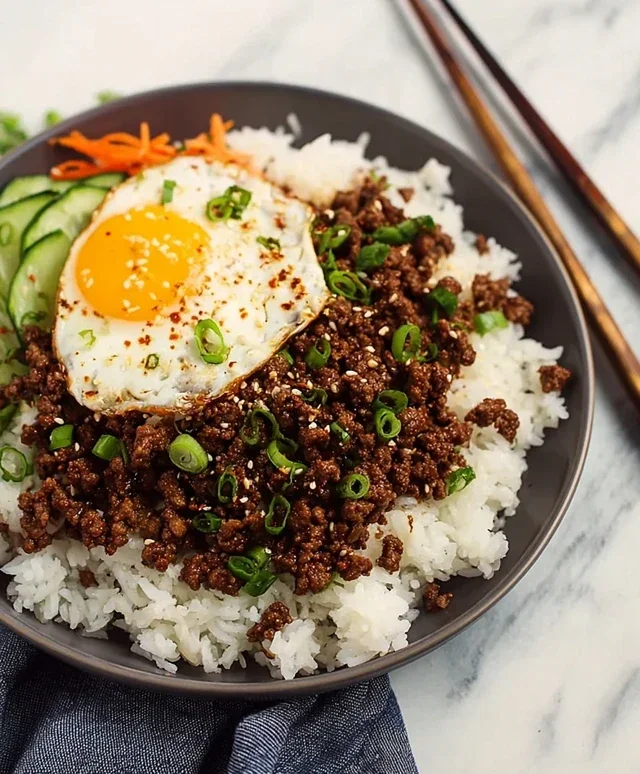
This is where your Korean Ground Beef Bowl truly comes to life and becomes uniquely yours. For that extra layer of richness and protein, I highly recommend topping each bowl with a perfectly fried egg. A sunny-side-up egg with a runny yolk that spills over the beef and rice is pure bliss. Sprinkle on some sesame seeds for a nutty crunch and visual appeal. Add some vibrant sliced cucumber for a cool, refreshing contrast. If you’re a fan of a little spice and tang, a dollop of kimchi or some quick-pickled vegetables are fantastic additions. These toppings not only add flavor but also texture, making every bite an exciting experience. This is a meal that’s as much about the delicious core ingredients as it is about the personal touches you add at the end. Enjoy your quick, flavorful, and satisfying Korean Ground Beef Bowl!
Conclusion:
And there you have it! Your delicious and incredibly quick Korean Ground Beef Bowl is ready to be devoured. This recipe truly shines with its speed and flavor. In just 25 minutes, you can transform simple ingredients into a vibrant and satisfying meal that’s packed with savory, sweet, and slightly spicy notes. It’s perfect for those busy weeknights when you crave something homemade but don’t have hours to spare. I encourage you to give this Korean Ground Beef Bowl a try – I promise you won’t be disappointed!
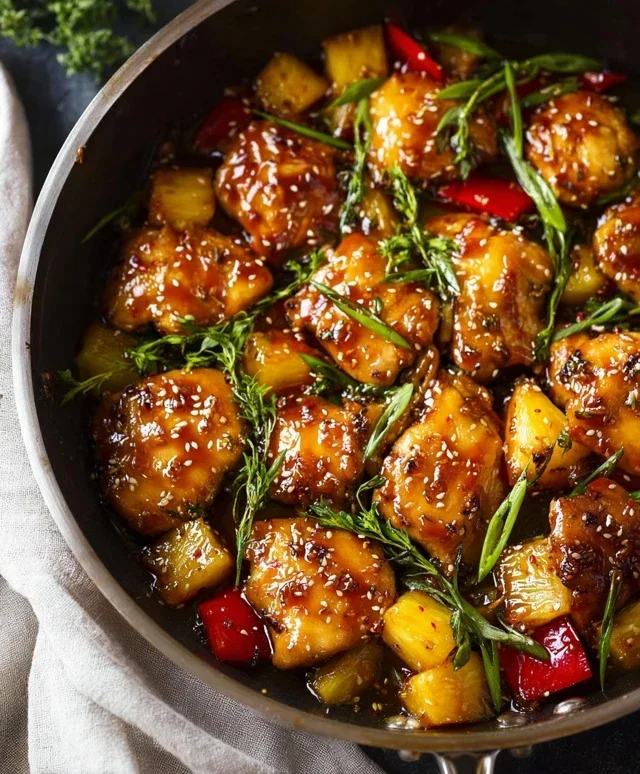
To elevate your experience, serve this flavorful ground beef over fluffy steamed rice. Garnish generously with toasted sesame seeds, thinly sliced green onions, and perhaps a drizzle of your favorite chili sauce for an extra kick. For variations, feel free to swap the ground beef for ground chicken or turkey. You can also add a medley of your favorite stir-fried vegetables like bell peppers, broccoli florets, or snap peas directly into the pan with the beef during the last few minutes of cooking. The possibilities are endless, making this a truly versatile dish.
Frequently Asked Questions:
Can I make this Korean Ground Beef Bowl spicier?
Absolutely! If you love heat, increase the amount of gochujang (Korean chili paste) or add a pinch of red pepper flakes to the sauce. A dash of sriracha or a few slices of fresh jalapeño as a garnish would also do the trick.
What if I don’t have gochujang?
While gochujang provides a unique depth of flavor and spice, you can substitute it with a combination of soy sauce, a touch of honey or brown sugar, and a pinch of cayenne pepper or red pepper flakes. The flavor profile will be slightly different, but it will still be delicious!
Can I prepare some components ahead of time?
Yes, you can! The sauce can be mixed and stored in an airtight container in the refrigerator for up to 3 days. You can also chop your green onions and toast your sesame seeds in advance to further speed up the cooking process on the day of.
Korean Ground Beef Bowl (25-Minutes)
A quick and flavorful Korean-inspired ground beef bowl ready in 25 minutes, perfect for a weeknight meal.
Ingredients
-
1 pound ground beef
-
2 tablespoons soy sauce
-
1 tablespoon sesame oil
-
3 cloves garlic, minced
-
1 teaspoon ginger, minced
-
2 green onions, chopped
-
Salt and pepper to taste
-
2 cups cooked rice
-
Optional toppings: sesame seeds, sliced cucumber, kimchi, pickled vegetables
-
Optional vegetables: bell peppers, carrots, broccoli, spinach
-
Optional: a fried egg
Instructions
-
Step 1
In a large skillet, cook the ground beef over medium-high heat until browned. Drain off any excess grease. -
Step 2
Add the soy sauce, sesame oil, minced garlic, and minced ginger to the skillet. Stir to combine with the beef. -
Step 3
Cook for another 2-3 minutes, allowing the flavors to meld and the sauce to thicken slightly. -
Step 4
Stir in the chopped green onions, and season with salt and pepper to taste. -
Step 5
Divide the cooked rice into bowls. Top with the seasoned ground beef mixture. -
Step 6
Add your desired optional toppings and vegetables, such as sesame seeds, kimchi, or a fried egg.
Important Information
Nutrition Facts (Per Serving)
It is important to consider this information as approximate and not to use it as definitive health advice.
Allergy Information
Please check ingredients for potential allergens and consult a health professional if in doubt.